
To know when to harvest your cannabis can be tricky. We’ve created this guide to help you identify the major signs of harvest readiness to help you get the most out of your buds. To begin let’s have a quick review of the four major growth stages of cannabis.

Germination: 2-10 days
Seedling: 2-3 weeks
Vegetative (‘Veg’): 3-15 weeks (or more depending on factors such as desired size, cultivar (strain) type, environmental variables such as RH, temp., light, and more)
Flower: 7-12 weeks (Can be up to 16 weeks for some sativa strains)
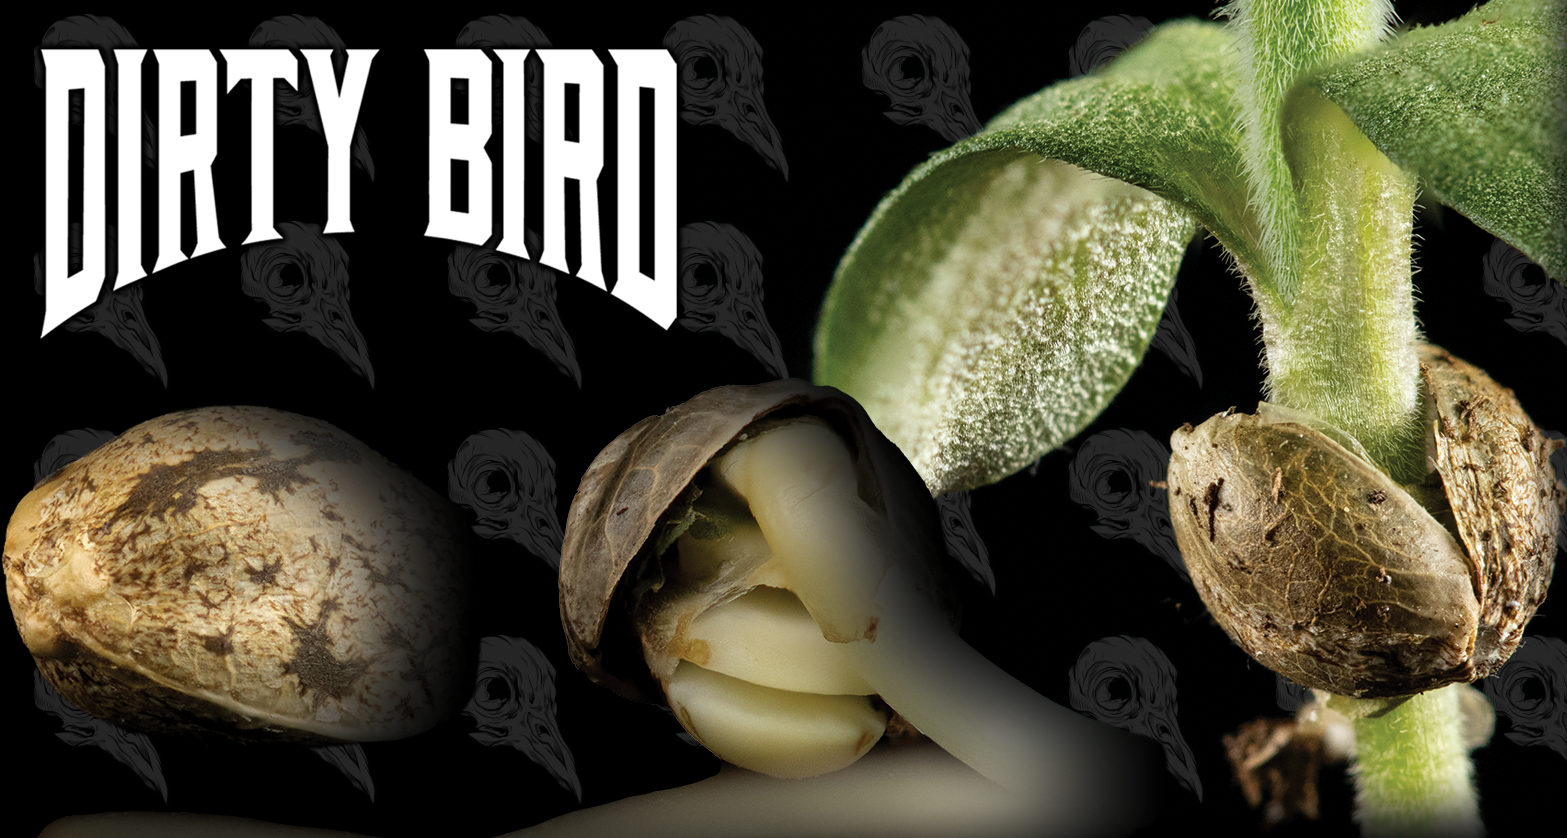
Germination refers to the time when the seed shell is softened by moisture and the tap root is emerging. There are several methods of germinating seeds including the paper towel method, placing seeds in a small cup of water, starting seed in pulp from untreated paper/cardboard, and many more. Regardless of which method you use, the seed will need a dark, damp place to allow the tap root to emerge.
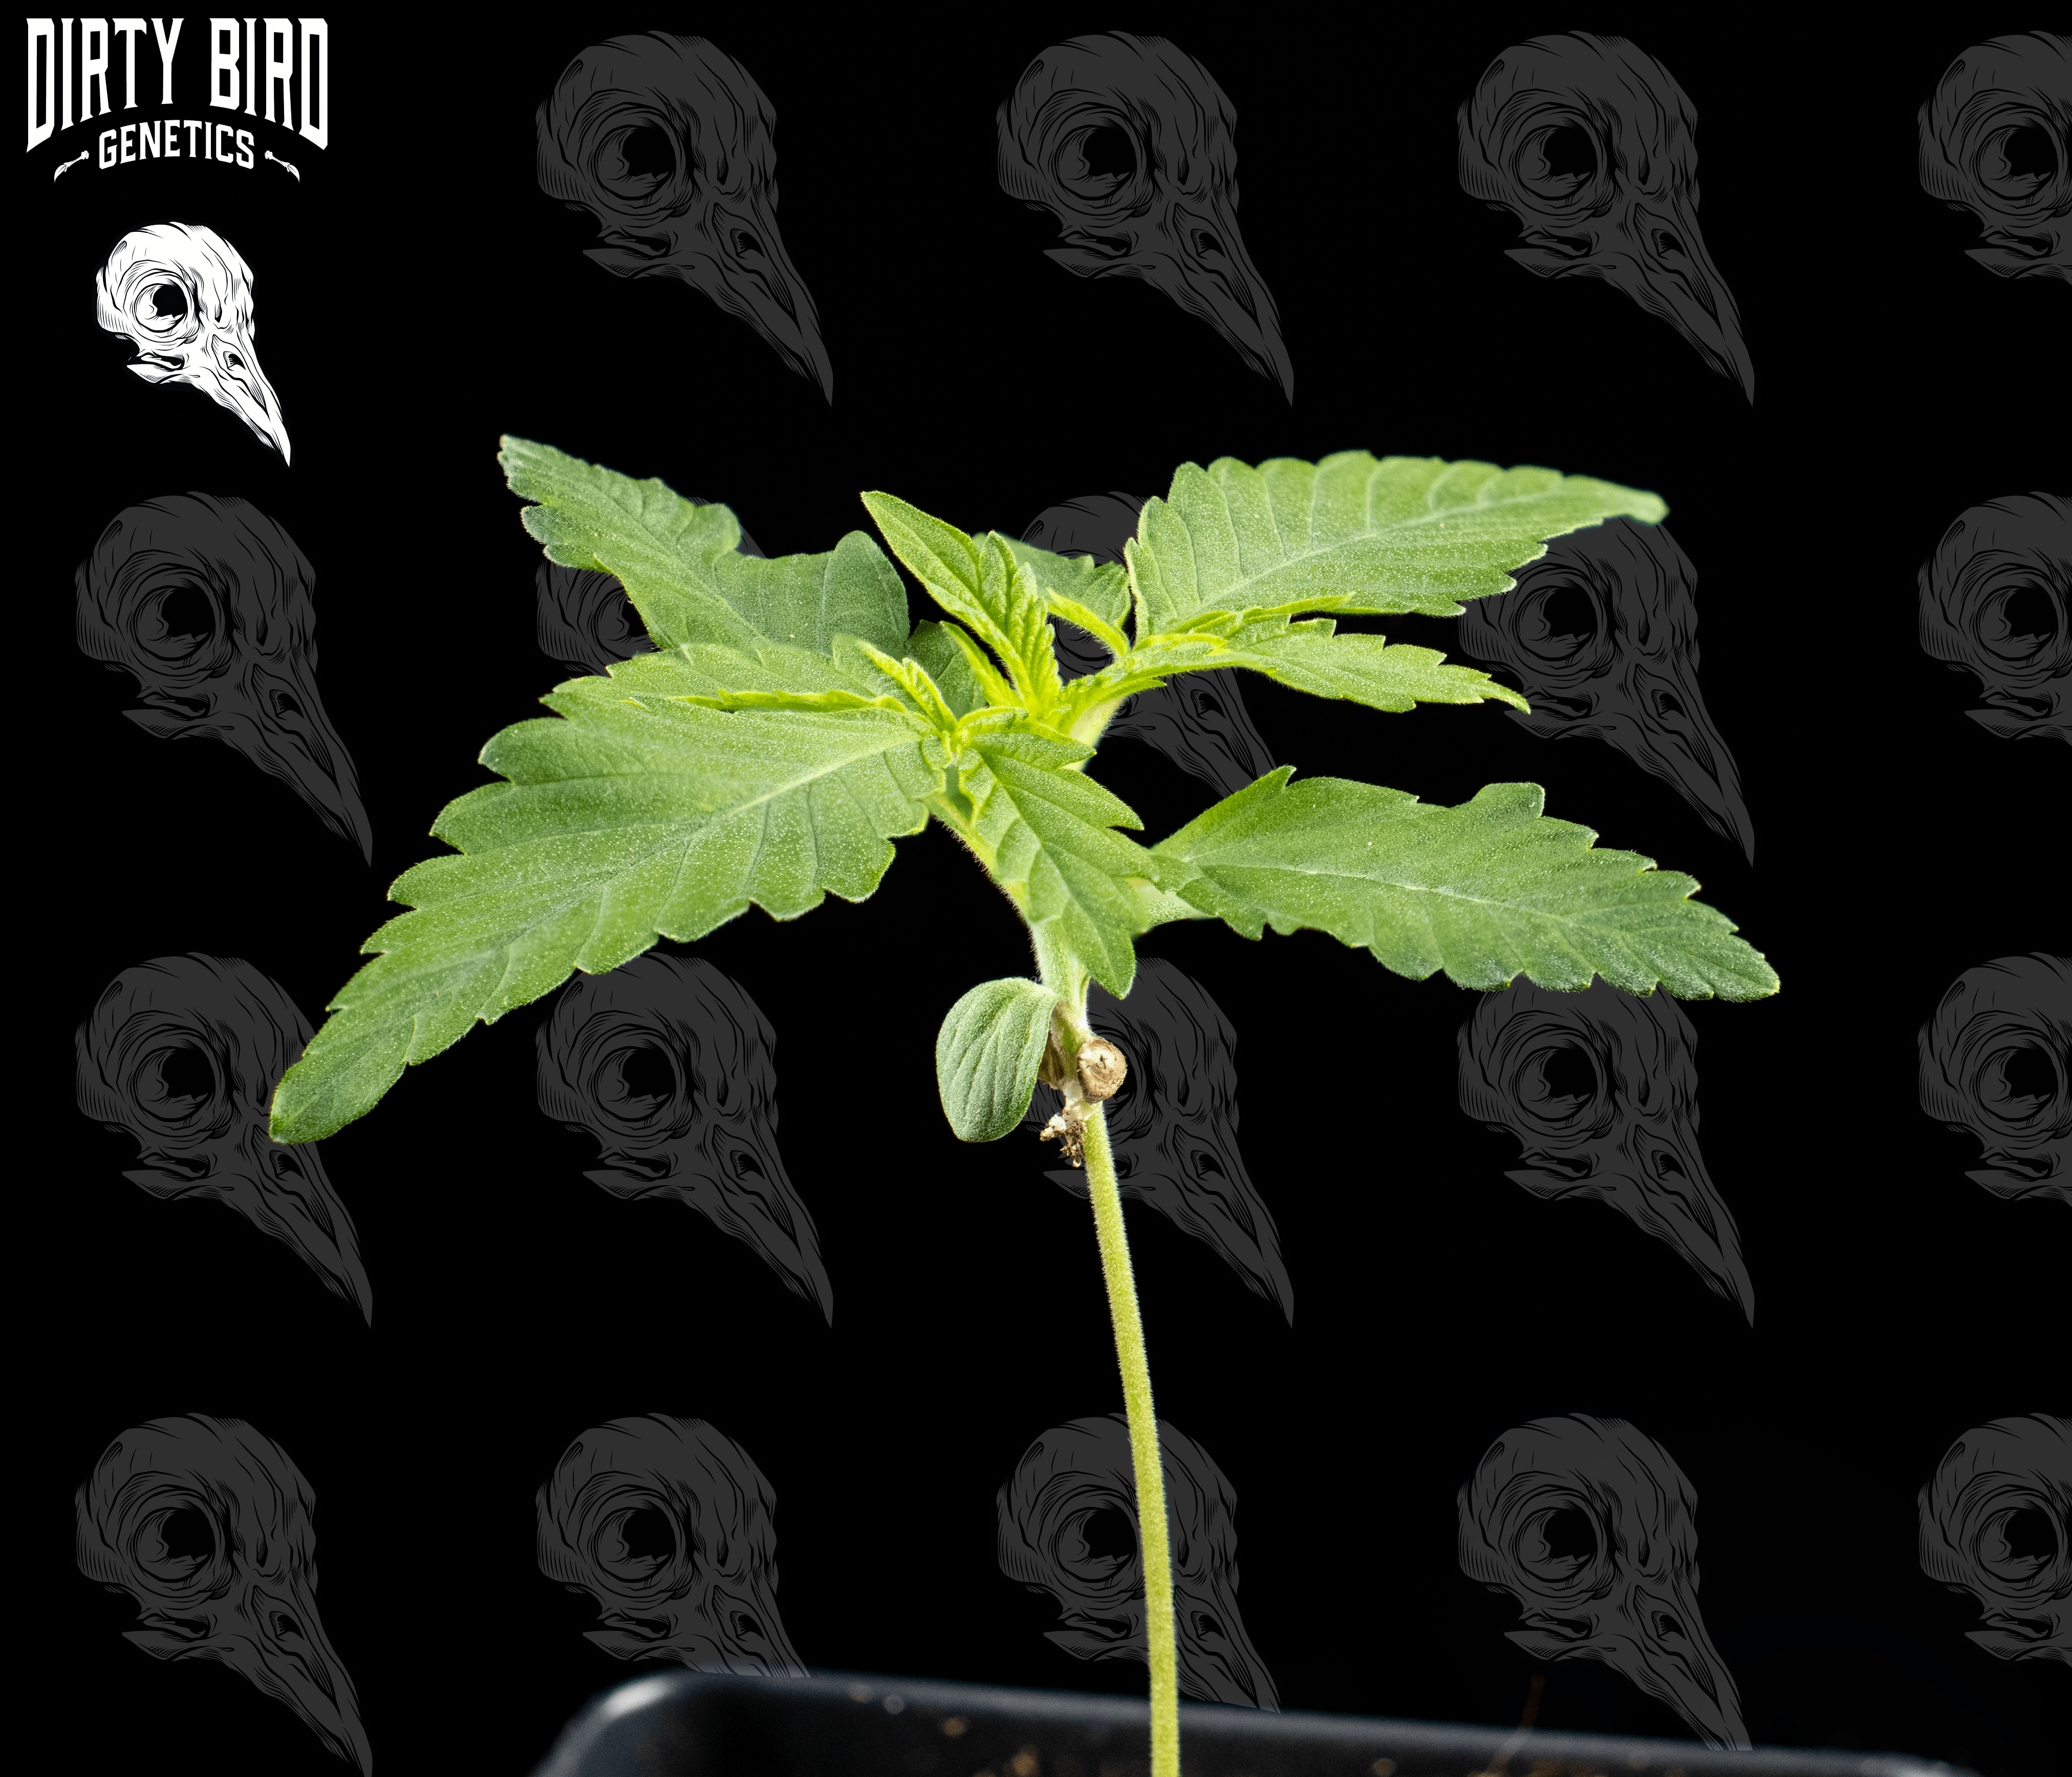
Once the tap root emerges and can be planted in soil, or another medium of your choice, it has now entered the seedling stage. At this stage it has two small, flat leaves called cotyledon that are the main source of photosynthesis and food for the young plant. Very little to no nutrients are usually required at early parts of this growth stage. If adding nutrients, be cautious with your dilution rates as these little plants are easy to stress out with over feeding.
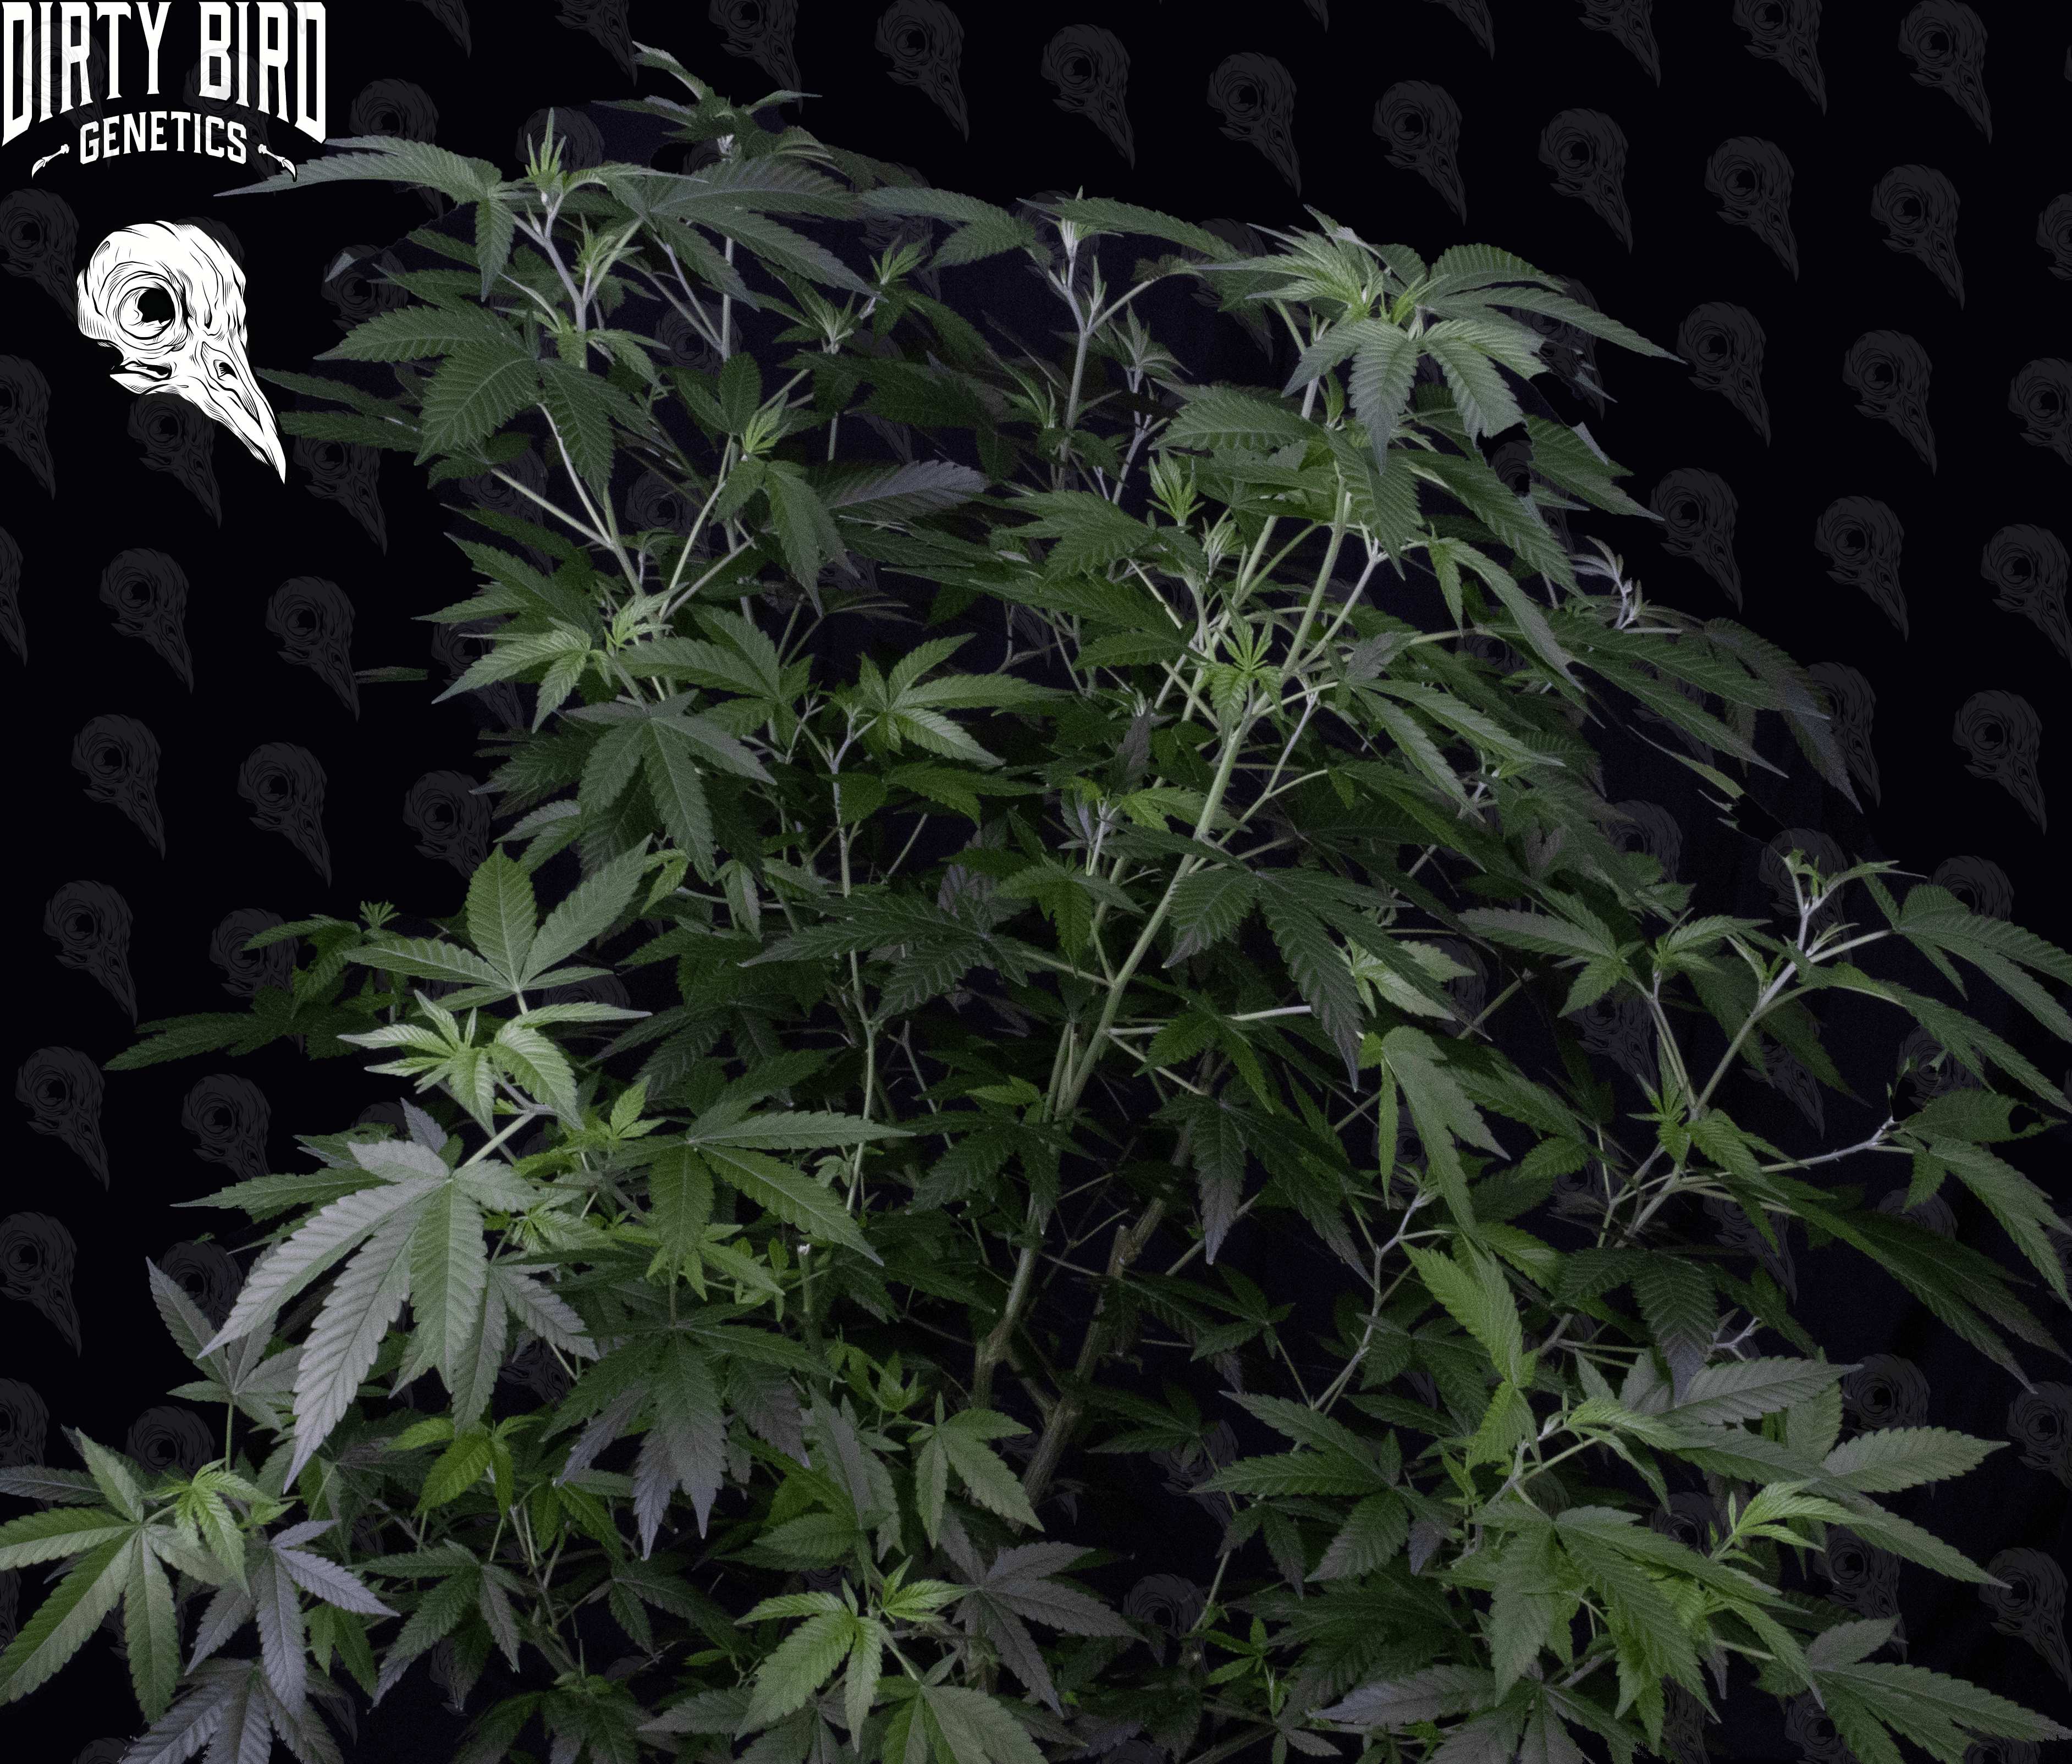
The Vegetative or Veg stage is when you will see the most explosive growth from your plant(s). Roots, branches, and leaves are produced in high quantities as the plant continues to grow and absorb nutrients, light, and carbon dioxide. At this stage the plant will need an increasing amount of nutrients which can be provided with chemical means such as liquid nutrient feeds, slow-release pellets, etc. Increased nutrient availability can also be achieved through bacterial and fungal inoculation of the soil commonly applied through compost teas. These microorganisms will provide the plant with whatever it needs provided there are enough of the right kinds of bacterial and fungal species in the soil. During this stage, cannabis plants need more nitrogen than they do during the flowering stage.
At this stage you can grow your plant(s) out to the desired size before flowering. Some people prefer to flower with very little vegetative time to reduce the ‘stretch’ or the height increase the plant(s) will exhibit while others will let their plants go for many weeks to maximize stalk and branch growth. Different cultivars of cannabis will exhibit different levels of stretching (vertical height increase) depending on factors such as environmental conditions and underlying genetic composition.
The Flowering stage is the stage at which the cannabis plant exhibits reproductive organs, i.e. pistils and stamens. This stage is initiated by a change in lighting schedule for photoperiod cannabis plants. When receiving approximately 12 hours of light and 12 hours of darkness, photoperiod plants will begin to transition to their flowering stage. Auto-flowering plants will initiate this change regardless of light schedules due to their genetic composition.
At this stage, cannabis plants will use more phosphorus (P) and potassium (K) than nitrogen, although nitrogen is still needed.
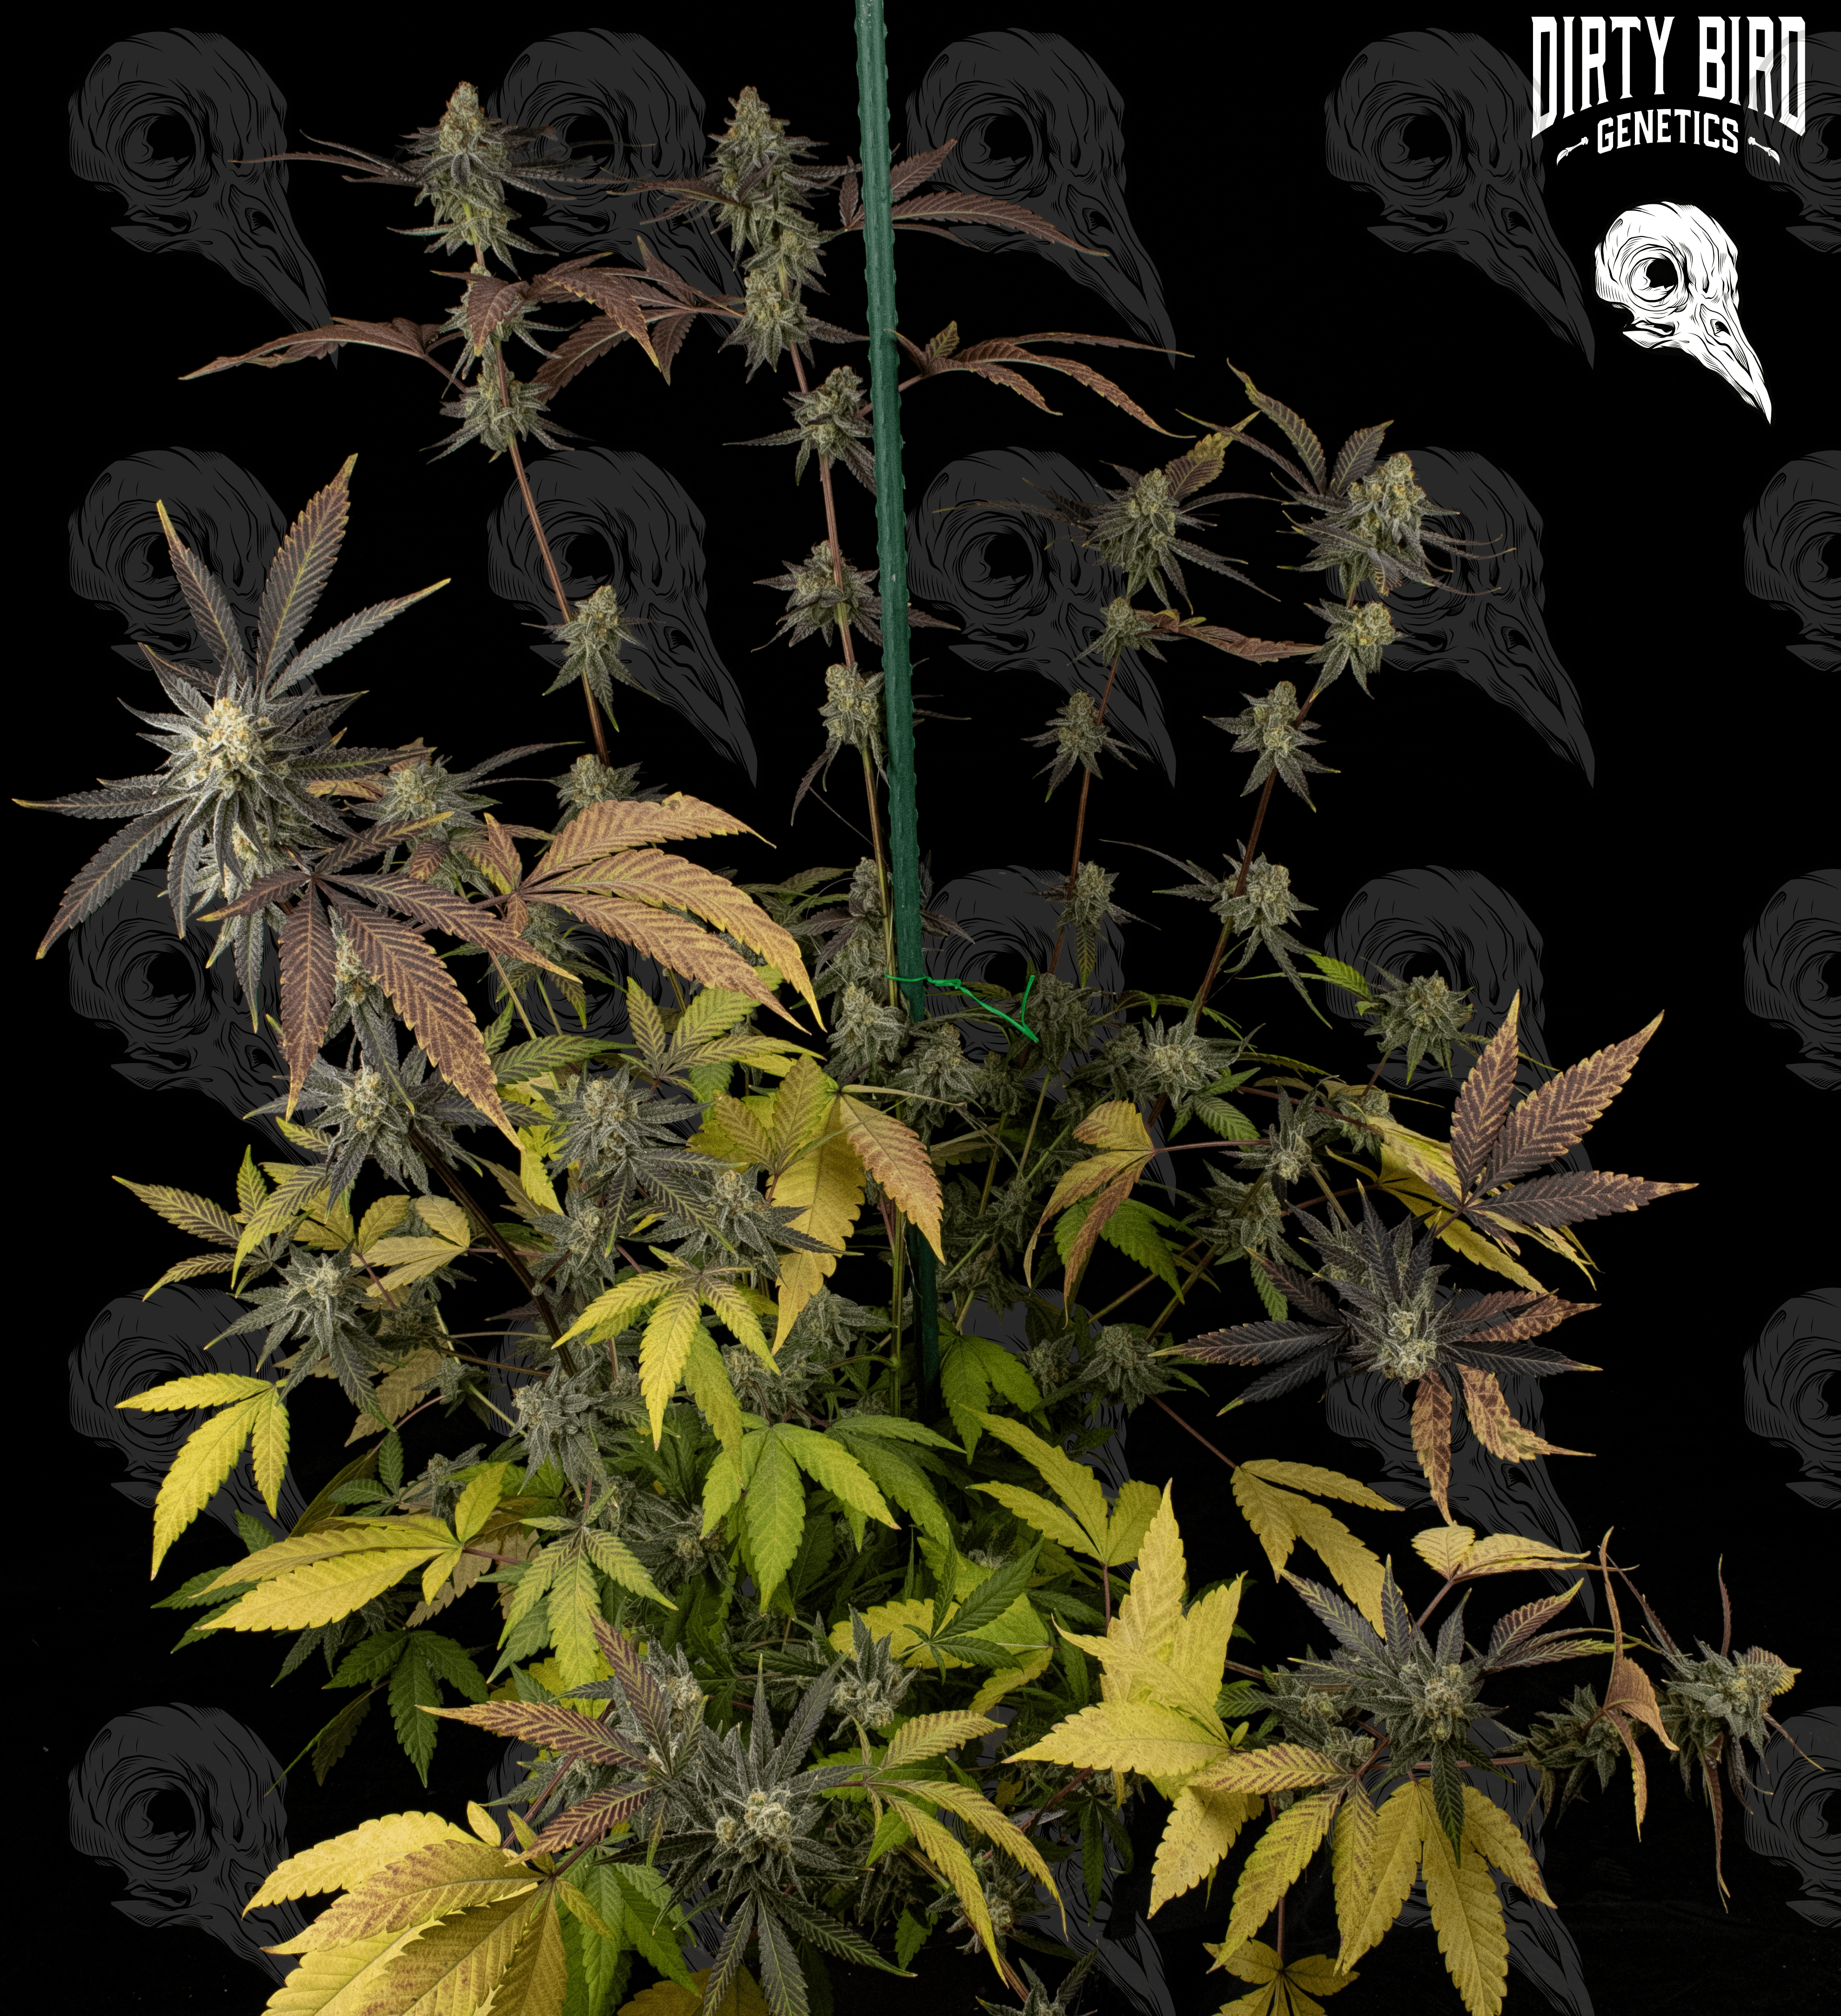
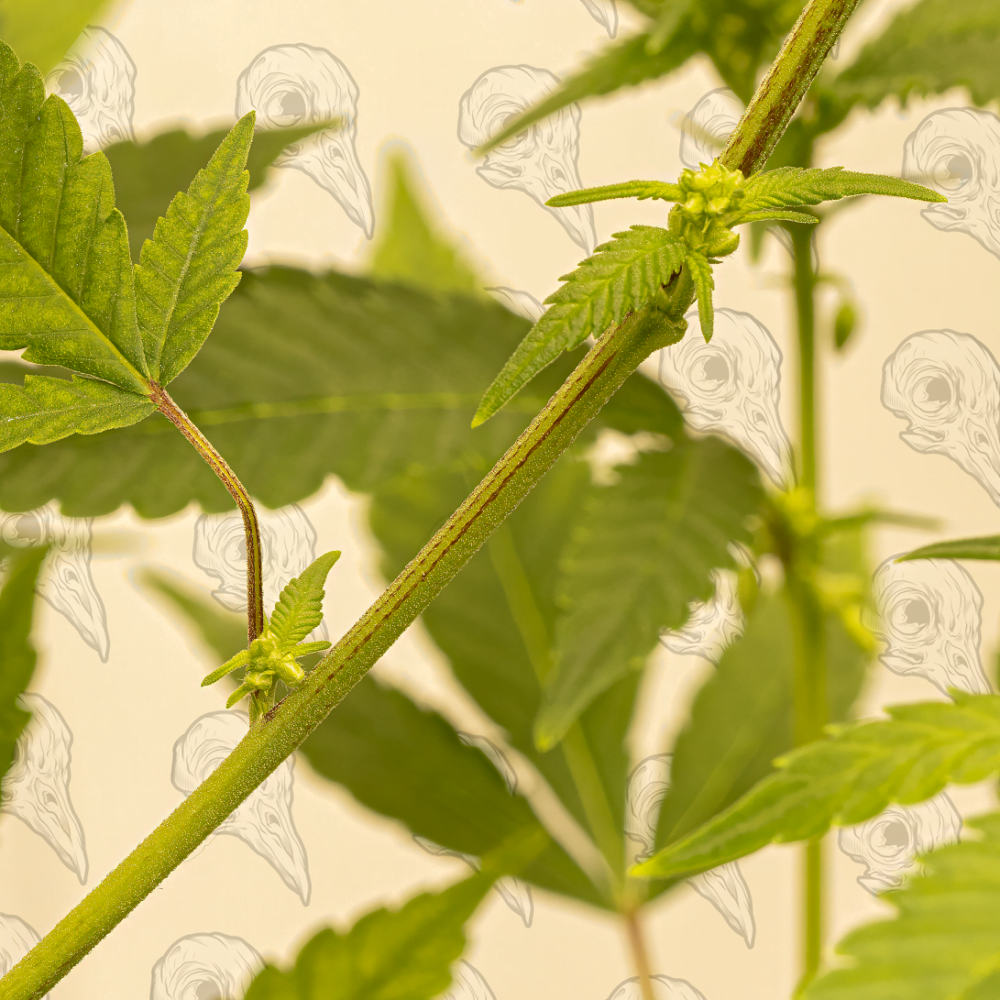
Male plants will exhibit stamens which are composed of anthers and filaments. These anthers look like pods or bananas and produce the pollen required for reproduction.
The females will exhibit pistils which are usually first noticed when long, slender, white hairs called stigmas start forming from the bracts of the plant. These areas with the stigmas will become the female flower or buds that will contain the cannabinoid and terpene rich trichomes we all get excited about.
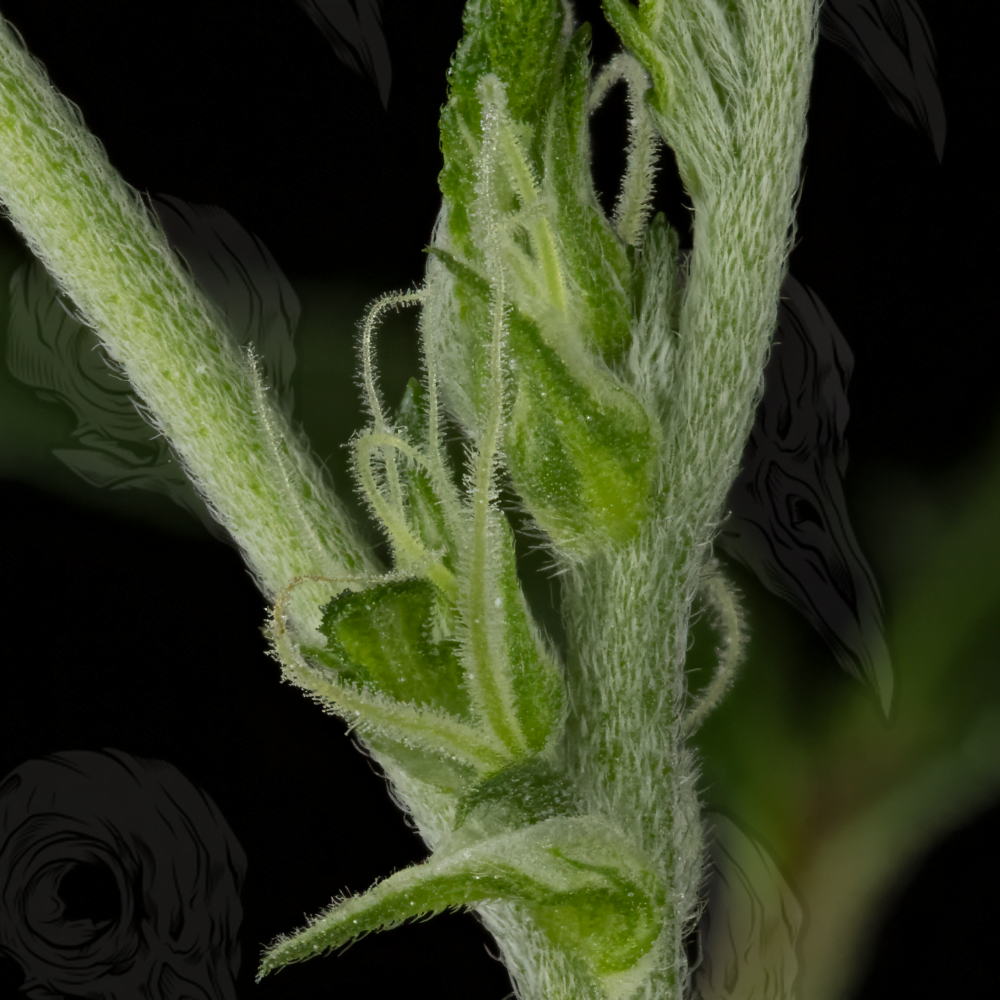
The flowering stage can last anywhere from 7-12 weeks on average. Cultivars with more of an indica lineage tend to be ready for harvest sooner (5-8 weeks) than cultivars with more of a sativa lineage (10+ weeks). These are averages that stay consistent with most indoor grows.
Outdoor harvest time is harder to predict due to geographical differences in cultivation sites and is also very cultivar or strain dependent. For many people in climates with cold or snowy winters, sometime in September through October is usually when most cannabis grown outdoors is harvested. Finding out which USDA Plant Hardiness Zone you are in and looking up breeder/seller estimated timelines for flower can help you determine a more accurate estimation of how long your crop will take to mature.

Knowing when to harvest comes down to a few parameters: desired approximate effect of ingestion (how smoking/eating/vaping the flower will make you feel) and visual cues from the plant.
Sativa leaning plants usually will require a longer time to flower than indica leaning plants due to their genetic make-up. Seed breeders and sellers usually provide rough estimates of the number of days or weeks in flower each strain will require on average.
The main visual cues for harvest are the stigmas and the trichomes.

Stigmas are the long white hairs that grow from the buds of a female cannabis plant. These hairs are used to catch pollen and transfer it down through the style into the ovary of a female cannabis flower where a seed is made.
Stigmas will change their color and shape as they mature. They start out as slender white hairs that increase in length until a certain point in flower. At this point the stigmas will begin to curl and change color from white to yellow, orange, and/or brown starting at the tips and moving down toward the bud. Some cultivars express reddish and/or purple tints in their stigmas which can lend itself to gorgeous visual aesthetics before harvest.
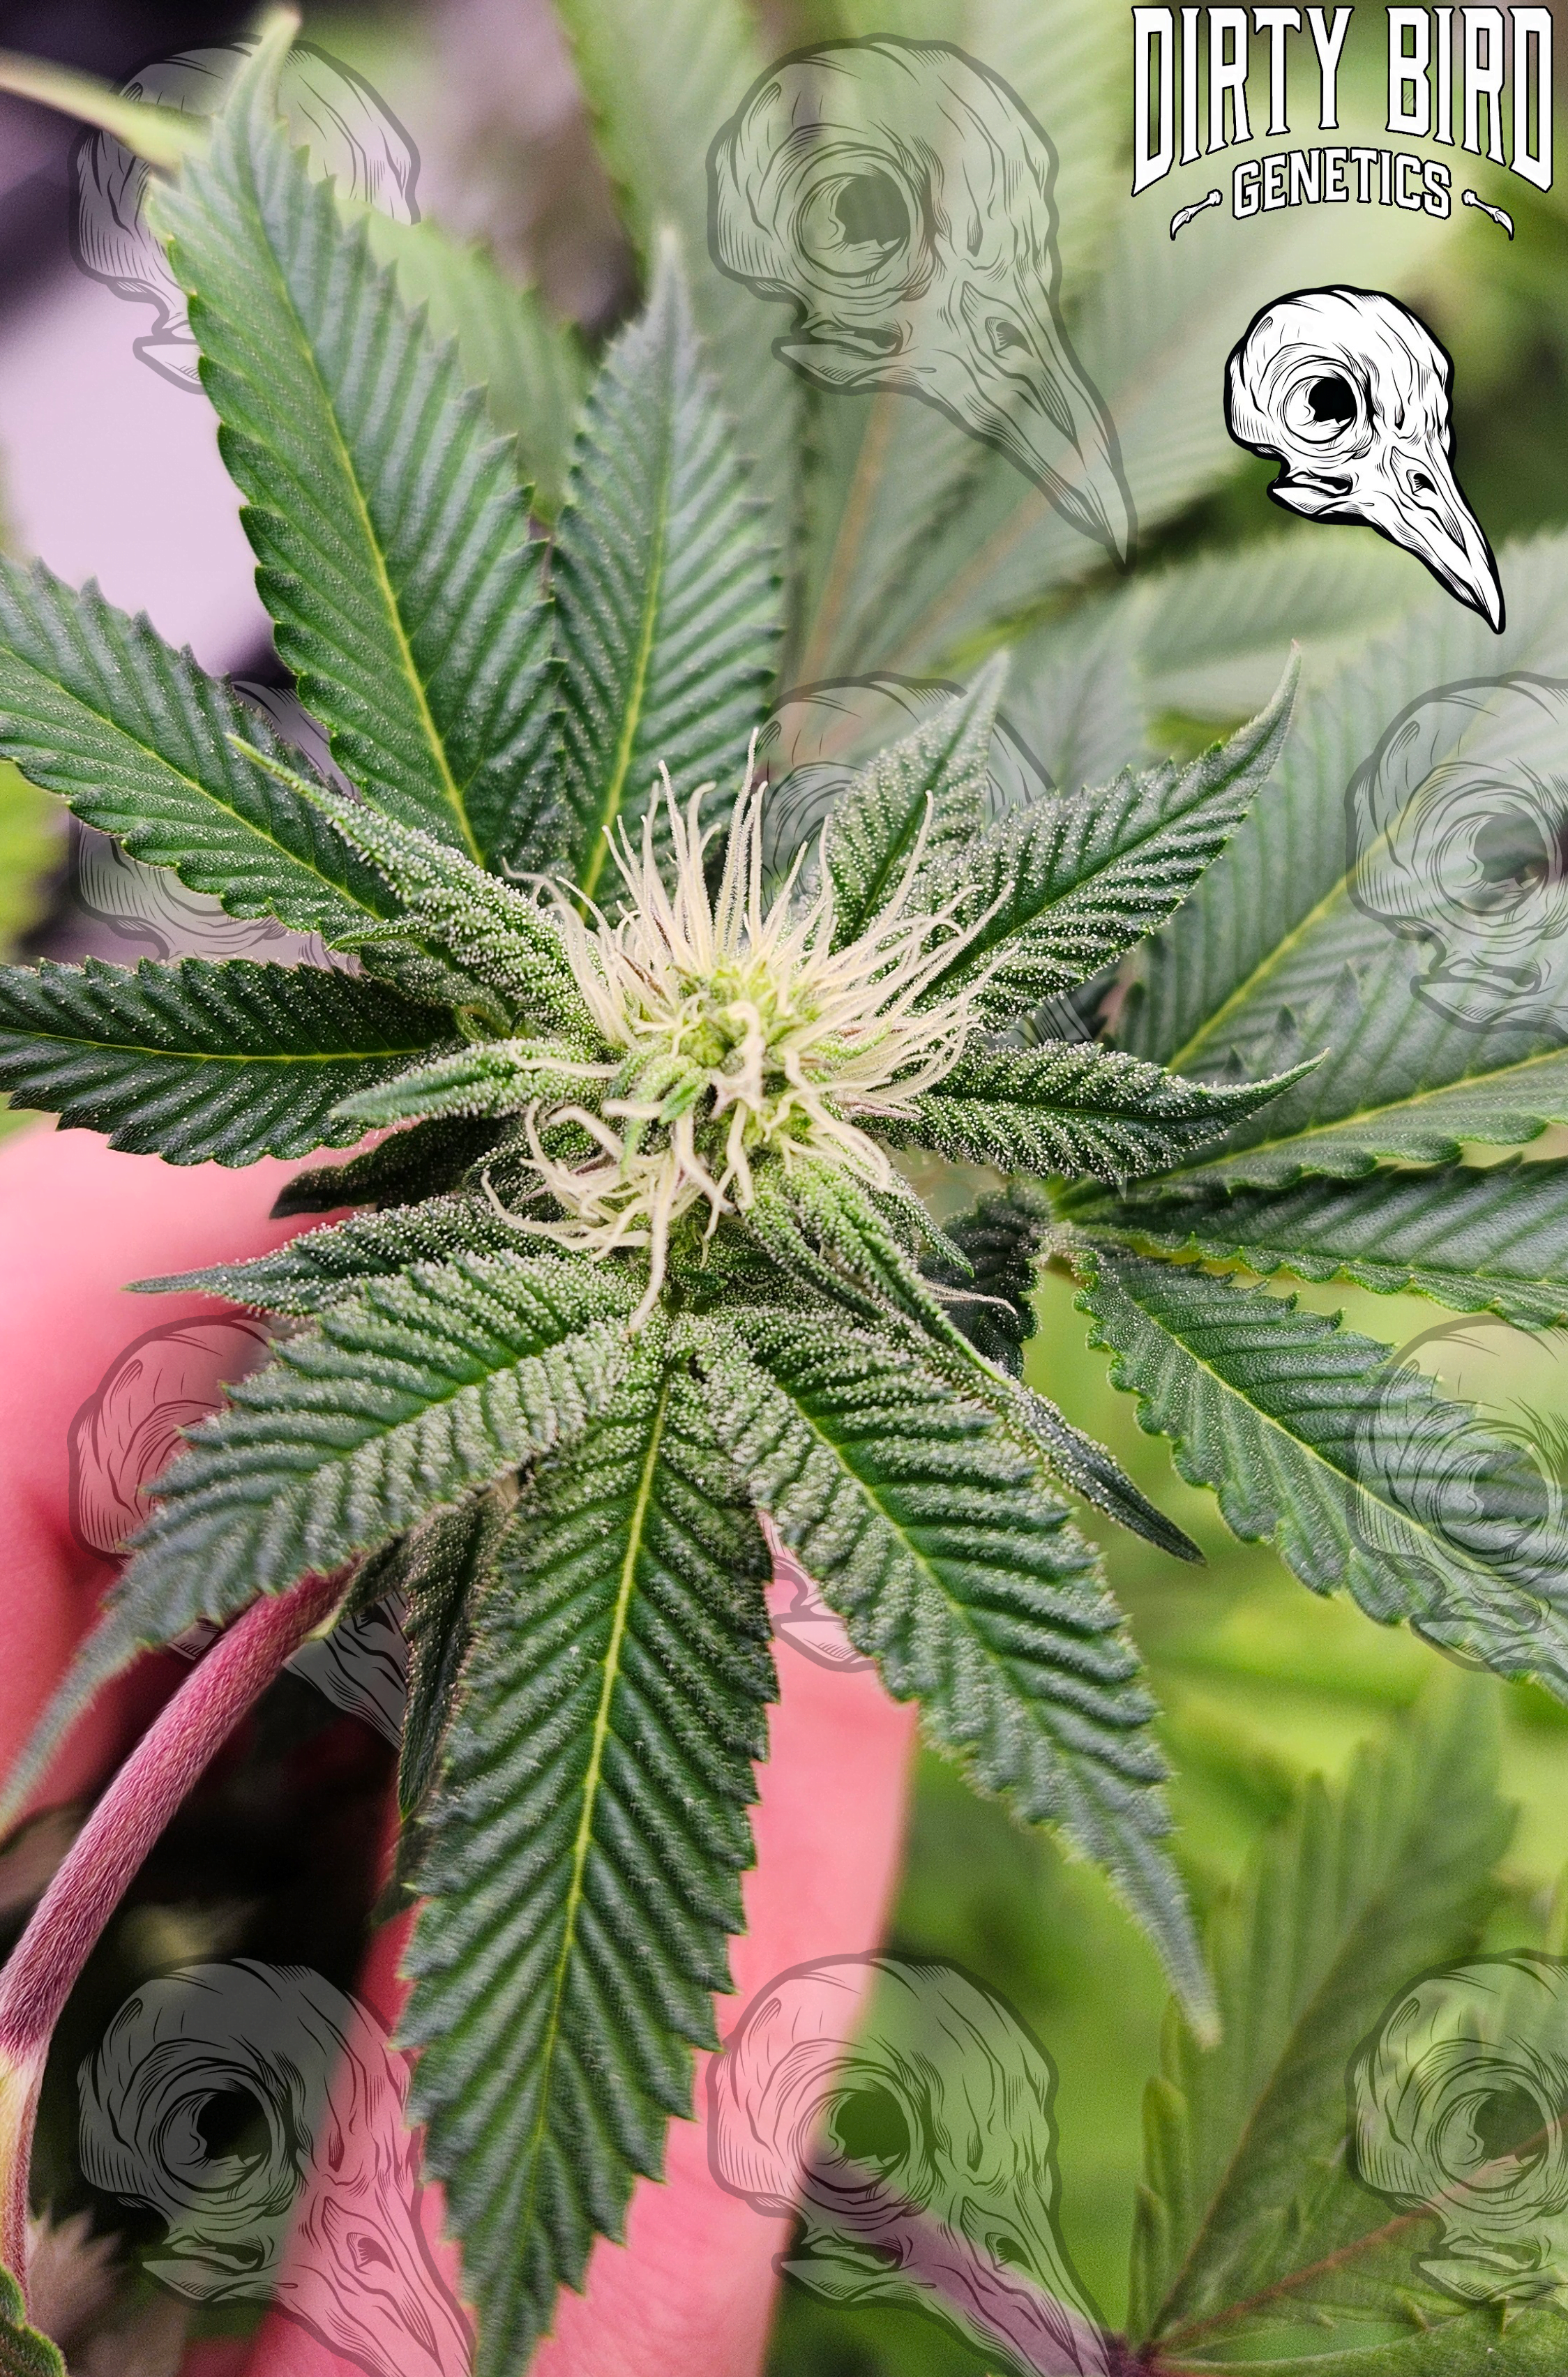
Young stigmas all pure white. This coloration indicates the flower is still immature and will need quite a few more weeks to reach full maturity.
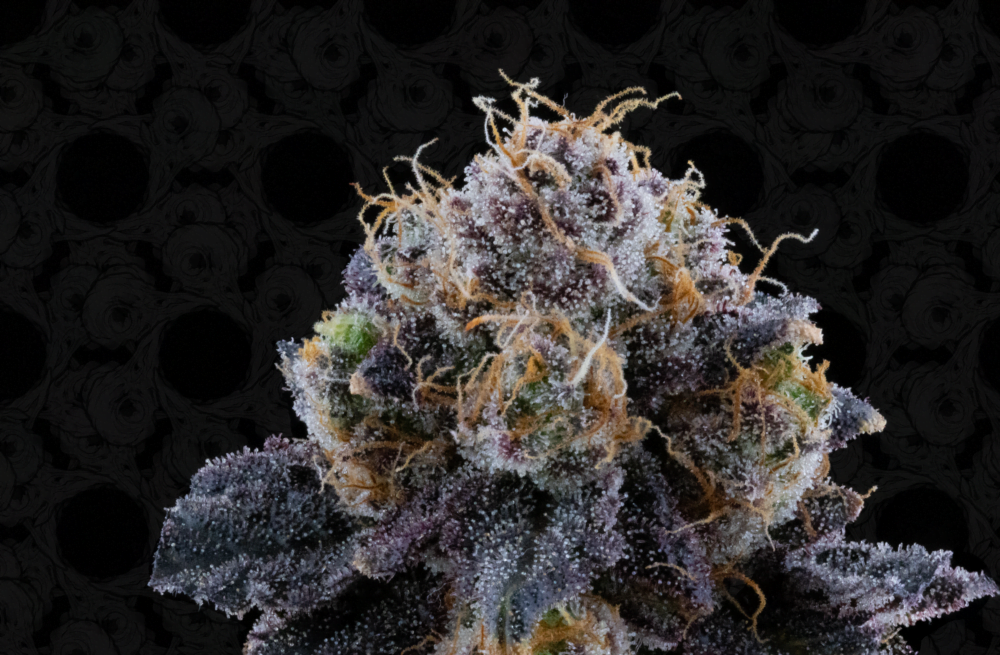
Developing stigmas. Note the increasingly orange ‘hairs’ and the reduction of white indicating increased stigma maturity.
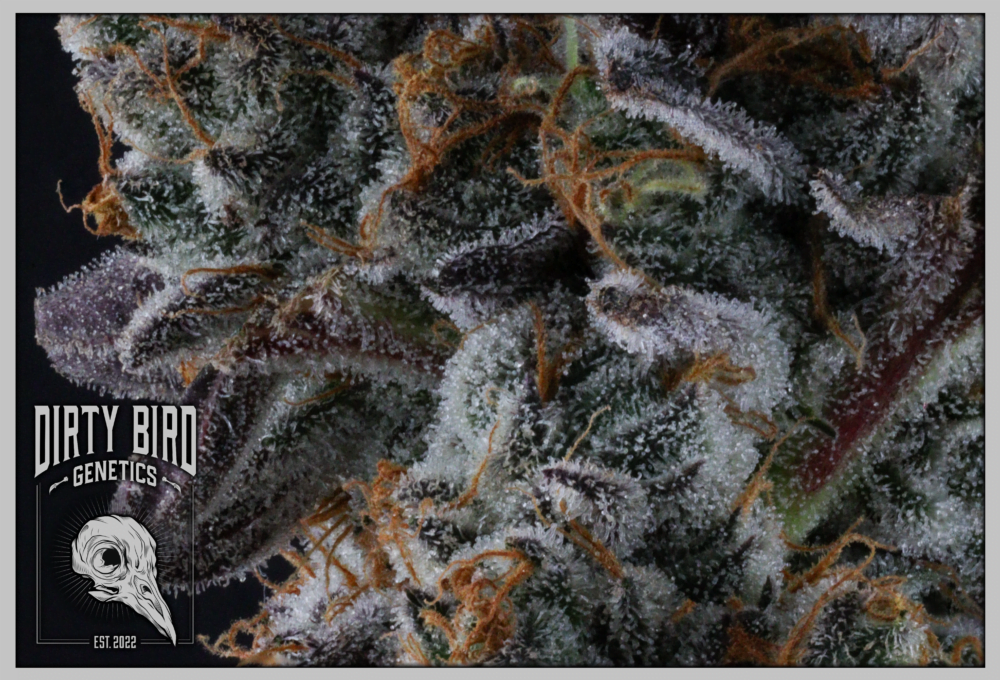
Orange or browns stigmas in high relative proportions indicate the plant’s flowers are reaching their full maturity whereas white stigmas in high relative proportions indicate the plant’s flowers are still immature.

There are a few kinds of trichomes produced by cannabis, but the ones growers are interested in are the ball or spherical blobs that sit atop small, cylindrical stalks. These are called capitate-stalked trichomes and they house the greatest quantity of terpenes (that help to produce the smell of a cultivar or strain) and the greatest quantity of cannabinoids such as THC and CBD.
Trichomes will look transparent or clear when young and will take a cloudy or milky appearance as they mature. Eventually trichomes will become an amber or honey color if left to mature for a long time.
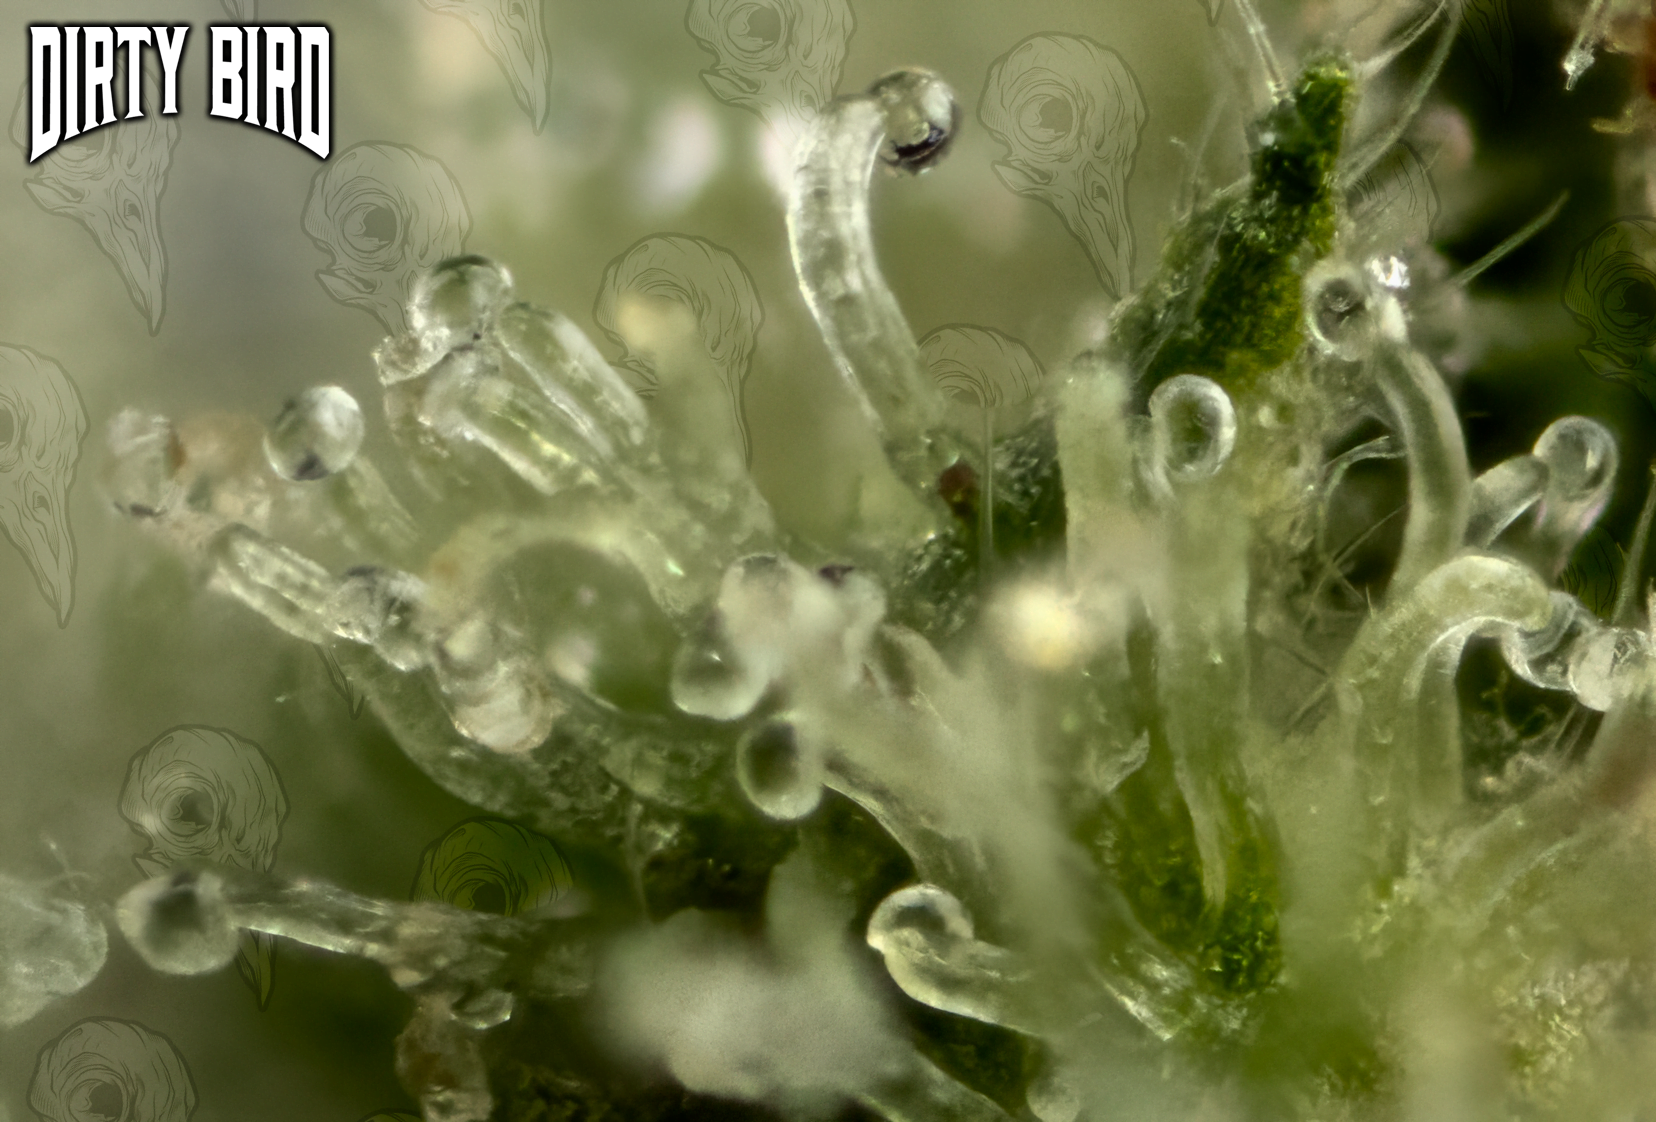
Capitate stalked trichomes with clear heads. The translucence indicates the trichomes are still immature and will have a cannabinoid content mainly of CBGA.
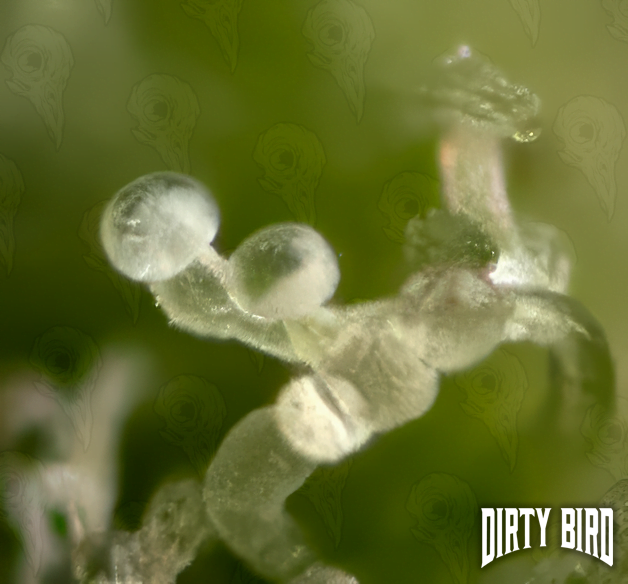
Trichomes with cloudy or milky heads. This opacity (cloudiness) indicates higher levels of THCA and CBDA as the CBGA has turned into these more active and desirable compounds. These trichomes indicate the plant is ready or just about ready for harvest.
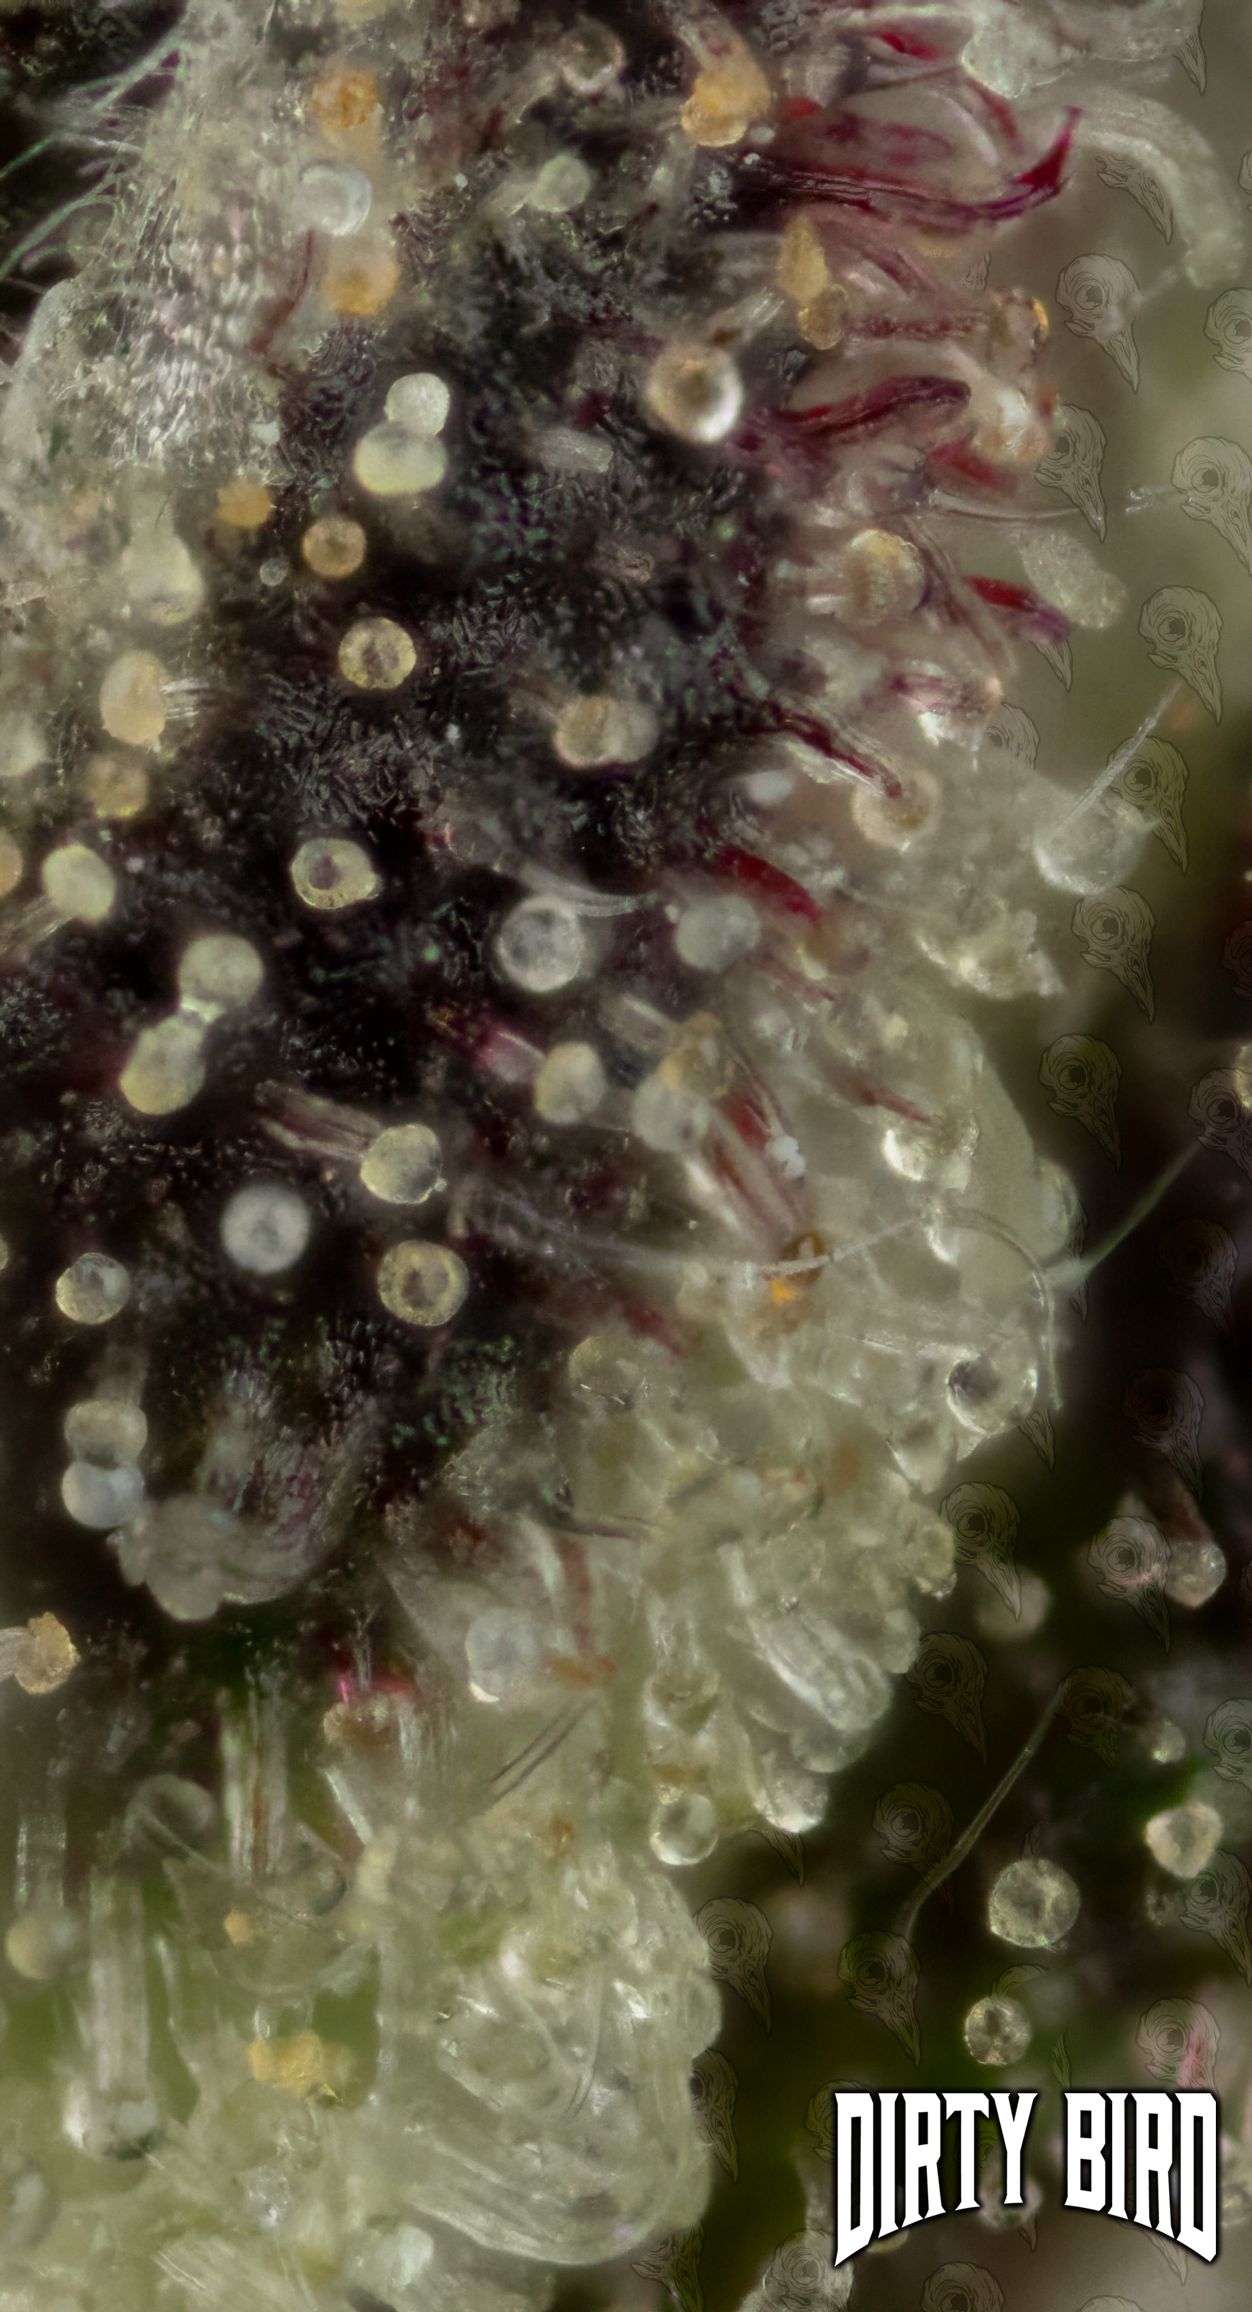
A mix of cloudy and amber trichomes. The amber color in some of these indicates that some of the THCA and/or CBDA has been converted into CBNA. If the majority of the trichomes are amber then it may mean the flower was harvested too late. This can be a matter of preference though. More on that later.
Trichomes are barely visible with the naked eye, so a magnifier of some kind is helpful in determining trichome color. There are several options available out there including a basic hand magnifying glass, a jeweler’s loupe, or a digital USB microscope.
Hand magnifying glasses can work perfectly fine provided there is enough light in the environment.
Jeweler’s loupes have their own light source which can really help to pinpoint how transparent or how cloudy your trichome heads are.
Digital USB microscopes are also a great option for more accurately assessing your trichomes. These devices can plug straight into your phone and produce pictures as well as video in high resolution of the plant surfaces you want to closely inspect. There are many cheap options financially for these (most around $30 on average) without sacrifice in the quality required to accurately assess trichome transparency/opacity.

Early Harvest:
Some growers prefer to harvest when most of the trichomes on their plant are clear and only about ~40-60% of the stigmas have darkened. This will usually produce a “speedier” or “energetic” high as opposed to a sedative or “couch-lock” high when ingested.
Many growers looking for these effects will harvest when approximately 40% or less of the trichomes have turned cloudy and the rest are clear (60-70%). Clear trichomes indicate higher levels of CBG (another cannabinoid like THC and CBD) rather than other cannabinoids. This is because CBG turns into THC and CBD over time thus transparent trichome heads indicate less THC and CBD.
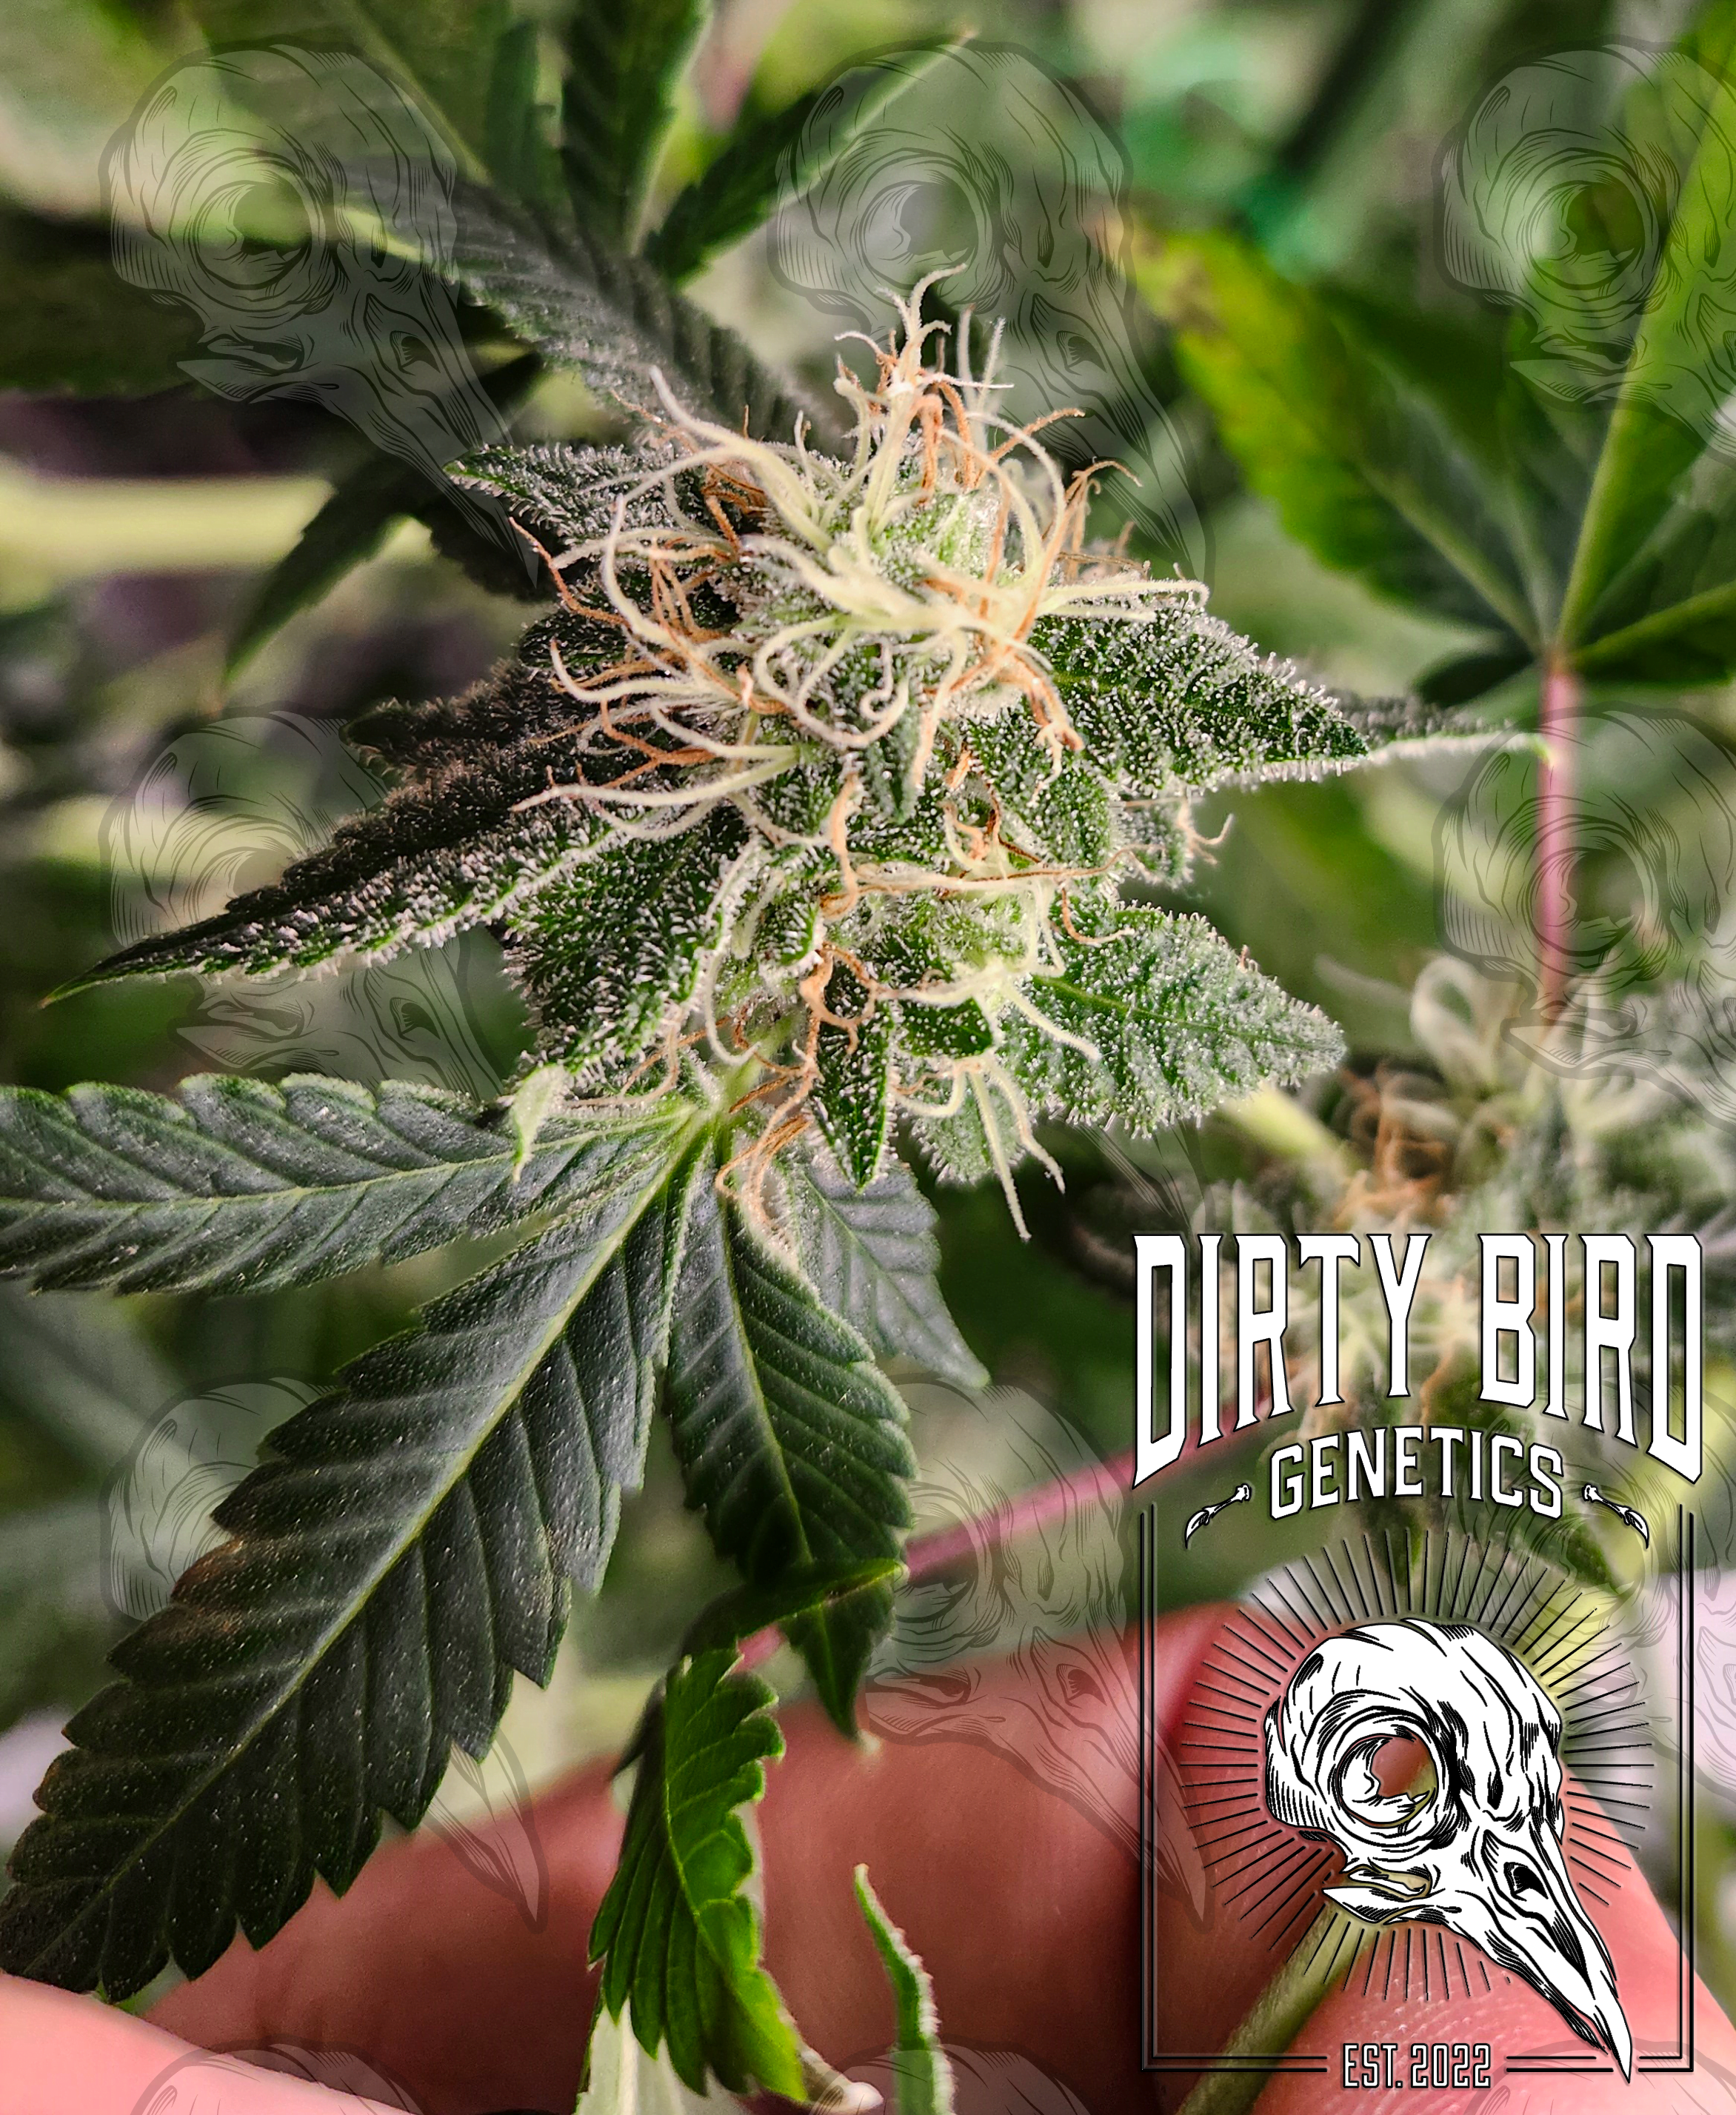
The stigmas are about 50% or more orange with a significant amount of white stigmas still remaining. If harvested now it may be a ‘speedier’, less THC heavy high when ingested.
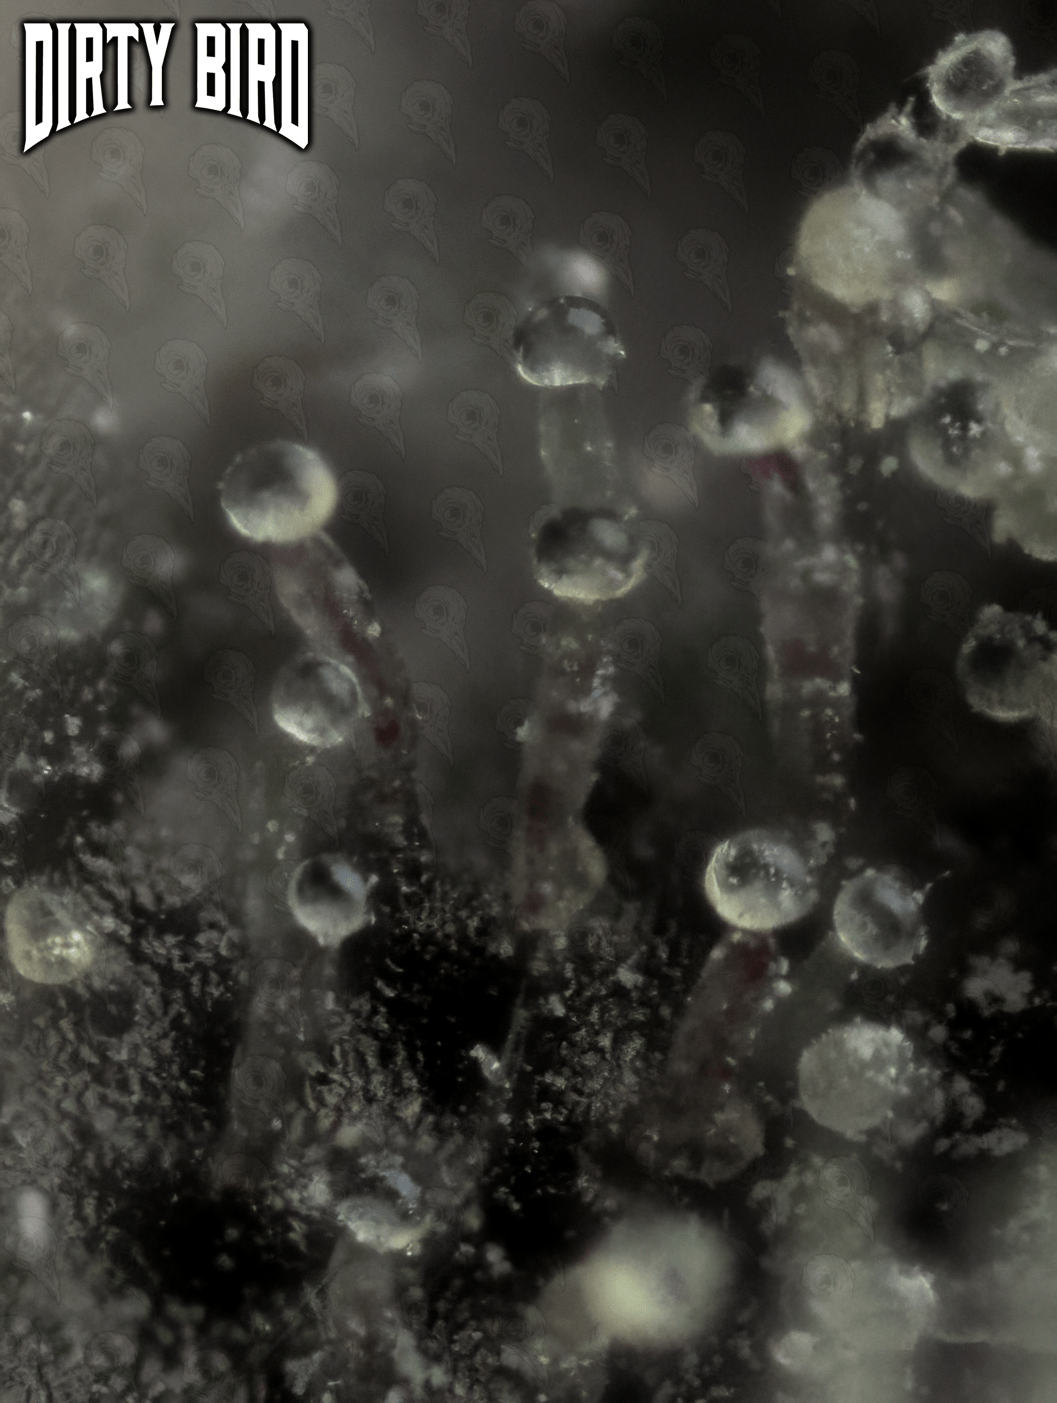
~40% cloudy trichomes with ~60% clear trichomes. These are prime for an early harvest and are close to the clear/cloudy ratio commonly desired for most normal harvest.
‘Normal’ Harvest:
Most growers will harvest when 50% or more of the trichomes are cloudy and the rest are clear with few to zero amber heads showing. The cloudy trichomes indicate higher levels of THC and/or CBD as the CBG has converted into these more desirable cannabinoids.
Some growers prefer to wait until 70% or more of their trichomes are cloudy to harvest as this means higher quantities of THC and CBD. Regardless of percentages, the higher the amount of cloudy trichomes with lower amounts of clear trichomes, and little to no amber trichomes, indicates the highest THC/CBD levels.
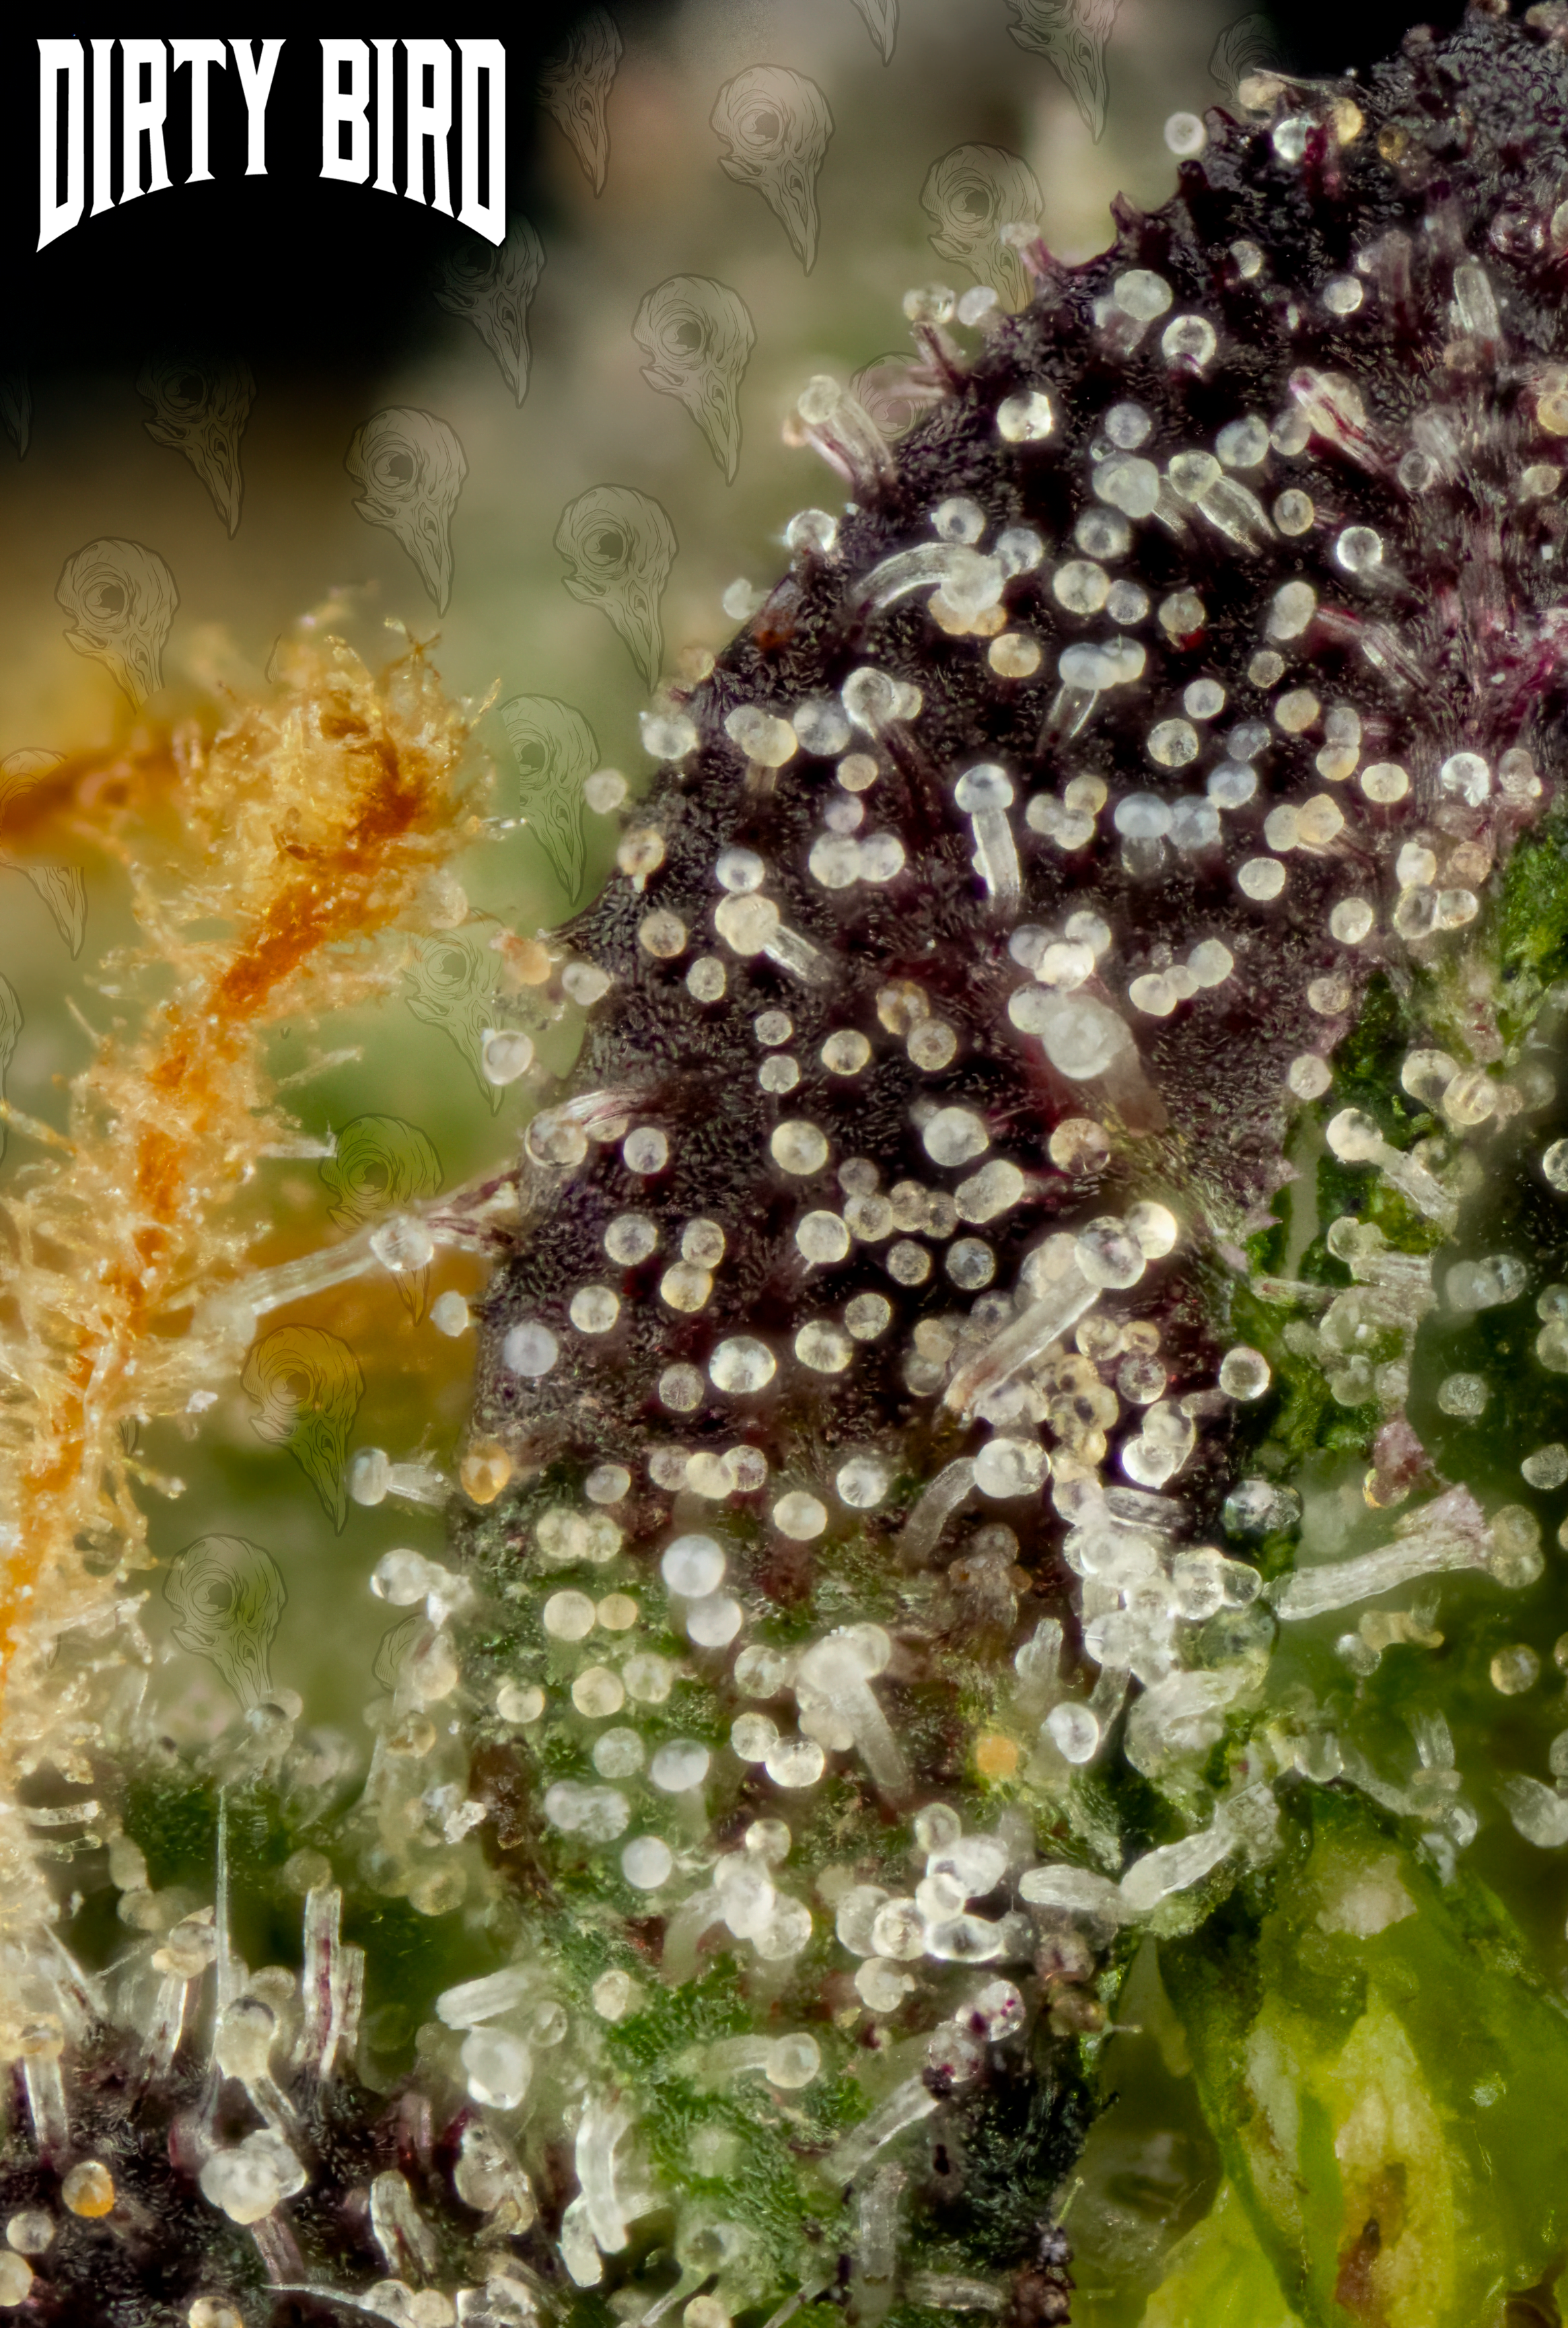
Don’t sweat it if only around 50% of your trichomes have turned cloudy if you are growing outdoors and running out of time for grow season but wanted a higher percentage of opaque trichome heads. It is always better to pull your crop slightly early than to let it get hit hard by torrential rains late in the season and risk mold or freeze to death after multiple frosts.
This obviously depends upon the season, the climate, and other factors in the environment the cannabis is grown in which varies from location to location. Keep an eye on your weather reports and inspect your grow daily to ensure your plants are getting what they need and are healthy before harvest.
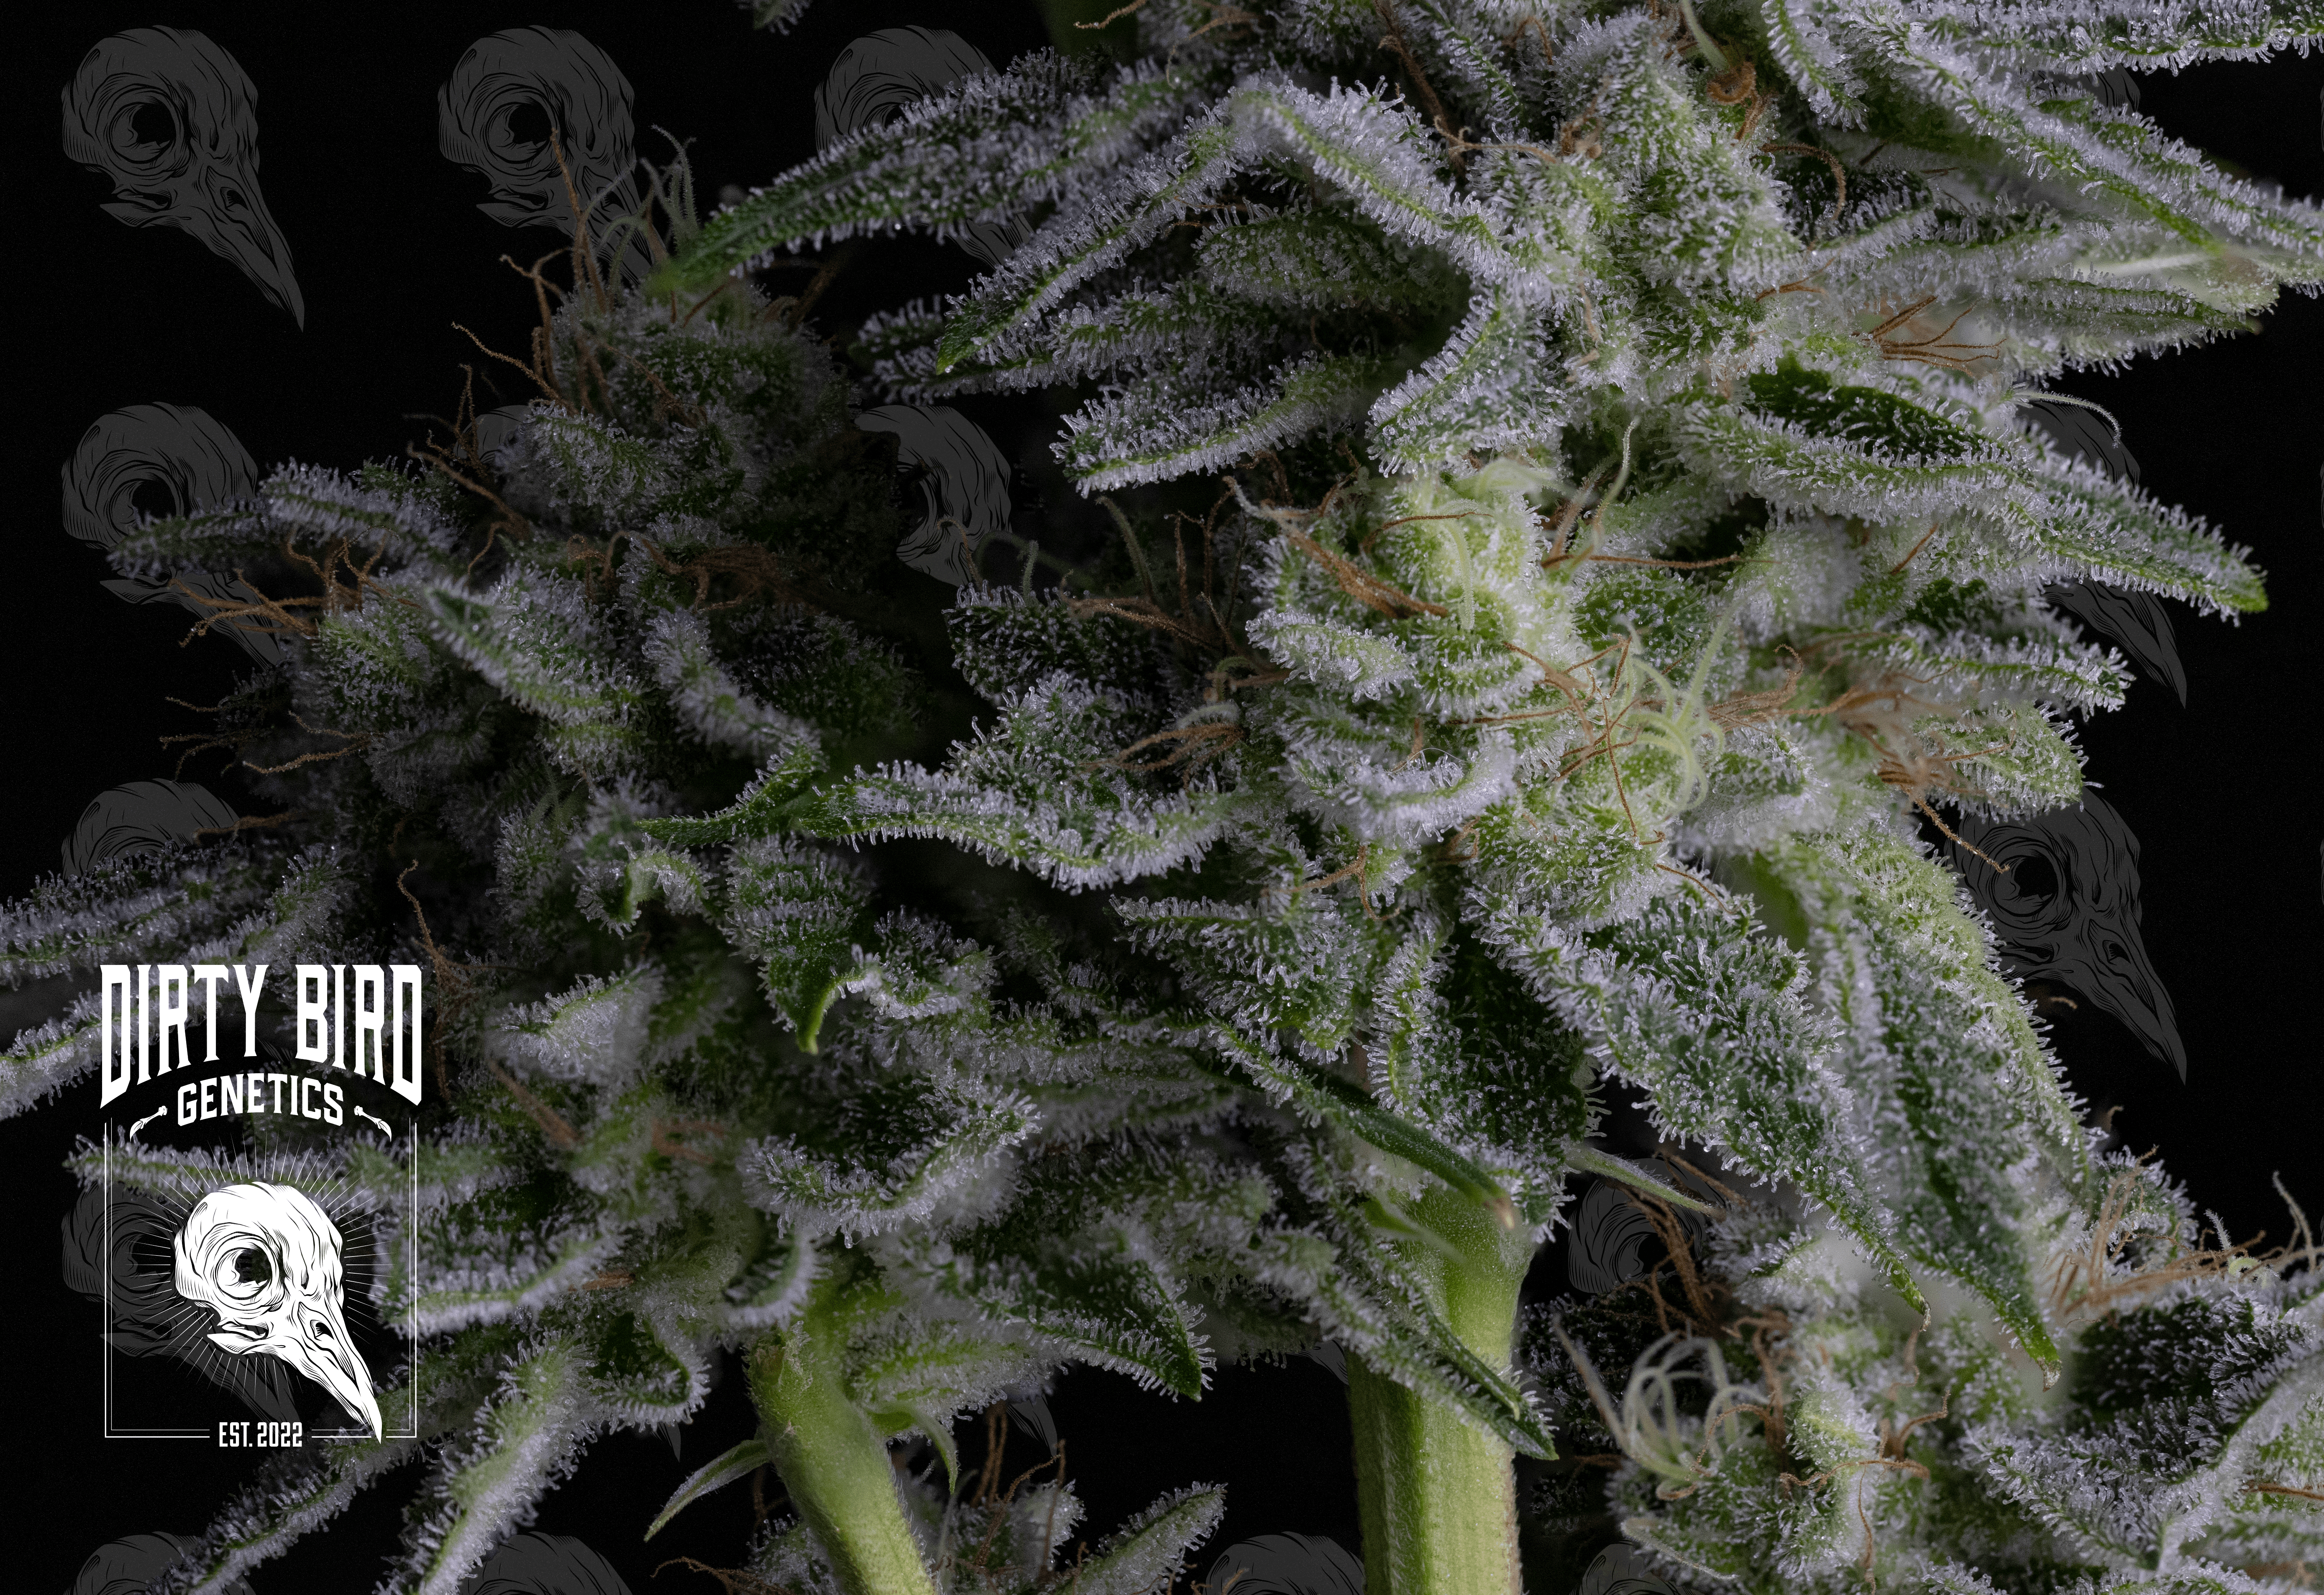
As far as stigmas are concerned, many people will harvest when approximately 70-90% have darkened and curled inward. This is in addition to when 50% or more of the trichomes have become cloudy or milky as previously stated.
Late Harvest:
Some growers that prefer the “couch-lock” effect or a more sedative effect will usually harvest when there are almost no clear trichomes and many amber colored trichomes. The high number of amber colored heads indicates that the THC/CBD (cloudy trichomes) has converted into CBN. Many growers have reported that this later harvested cannabis induces drowsiness and helps with sleep.
When 90-100% of the pistils have darkened and 30-40% or more of the trichomes are amber, with the rest being cloudy, cannabis will have much higher amounts of CBN and lower amounts of THC/CBD.
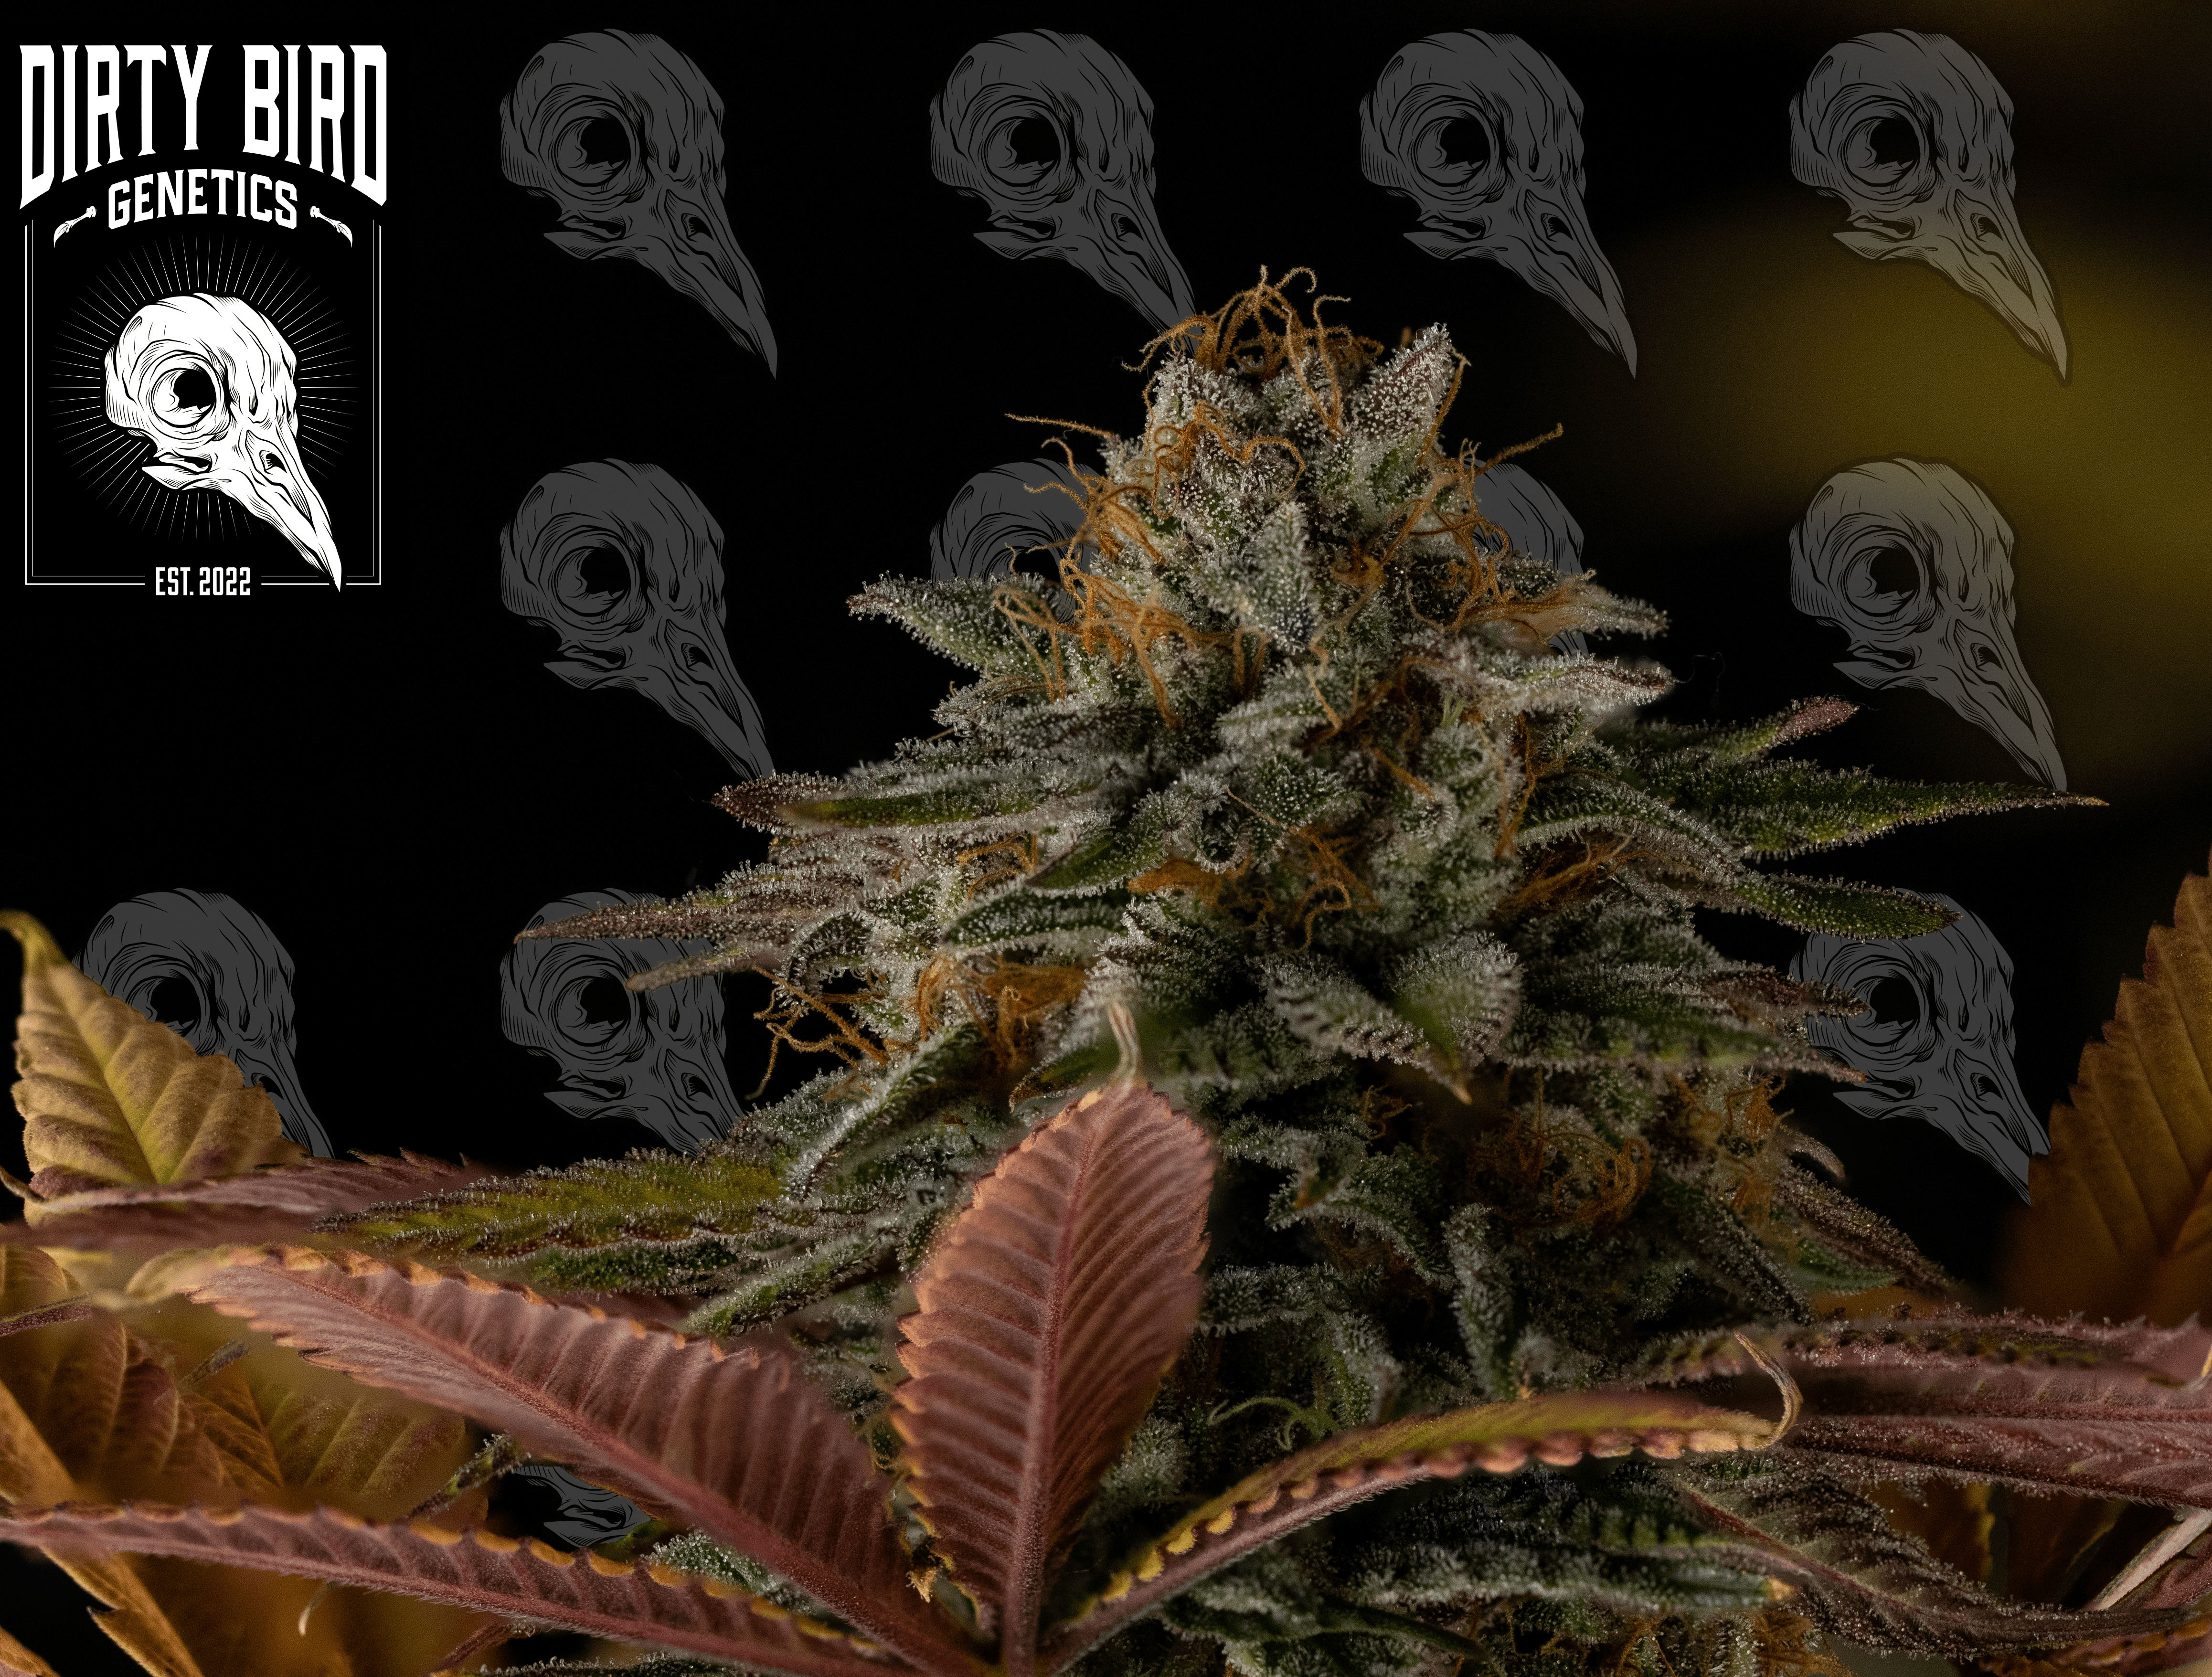
~90% or more of the stigmas have darkened and turned a brown-orange.
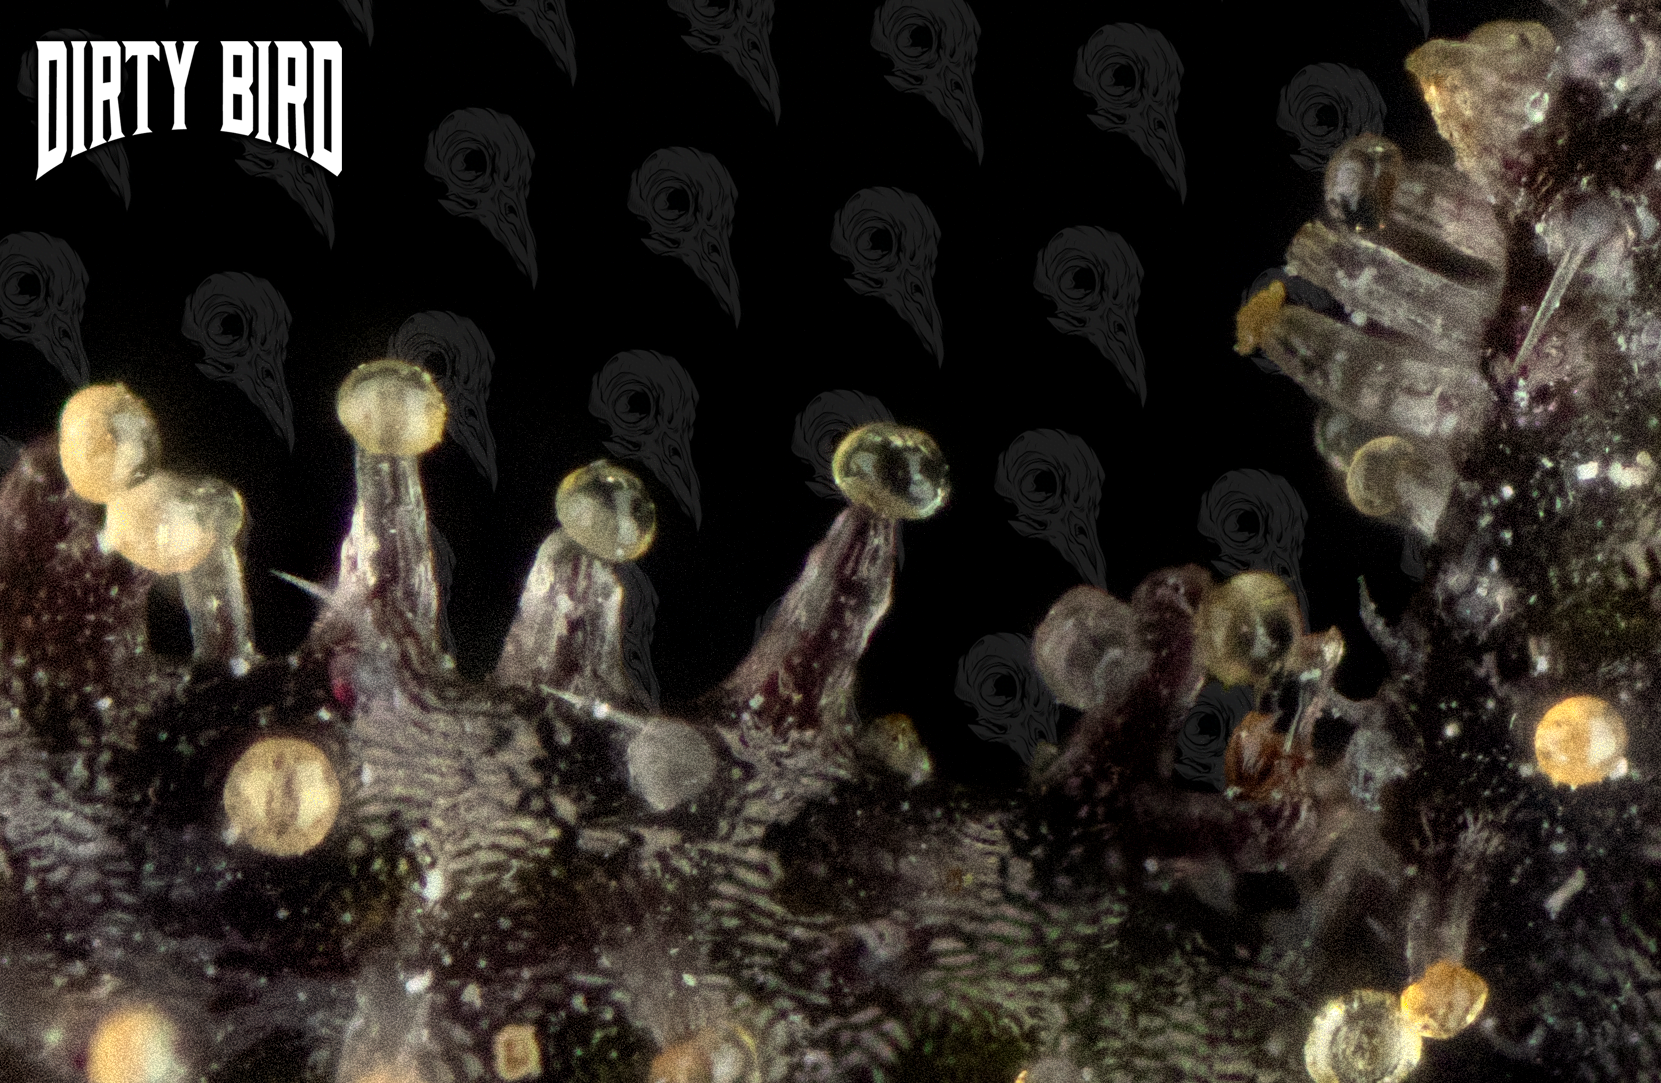
Many amber heads (~40% or more) with some cloudy and a few clear trichome heads. The relative abundance of amber trichomes indicates this will be a more CBN heavy and possibly sedative experience when ingested.
Early Harvest
“Normal” Harvest
Late Harvest
~ 40-65% darkened
~ 70-90% darkened
~ 90-100% darkened
~60% or more clear, 40% or less cloudy heads
~50-70%+ cloudy, 50% or less clear, little to no amber heads
~70% or less cloudy, 30% or more amber, little to no clear heads
The optimal time to harvest is during the early morning before the lights in your room have turned on or before the sun has come up, if growing outdoors. This is because during the day the cannabis plant uses metabolites in photosynthesis that can harm the overall taste of the flower once dried and cured. The metabolites are great for your plant’s growth but not the best for your enjoyment when consuming the final product. If cannabis is harvested before the lights come on/sun comes up it will have less of these metabolites and will usually have a more desirable taste.
A note: Not all buds mature at the same time. Often the buds higher on the plant and closest to the outside of the plant (i.e. those that received the most photosynthetically active light) will mature faster than those lower on the plant or within the plant. Some growers will disregard this due to preference and convenience at harvest and still harvest their entire plant while others will harvest their plant(s) in stages to allow all buds to fully mature. Neither method is better than the other as it is all a matter of taste and/or necessity.
Some growers will flower their plants using the Screen Of Green (ScrOG) method in which they stretch out the plant’s branches into a mesh screen to increase light penetration to buds that would otherwise be obscured by leaves and inflorescences higher on the plant. This method can increase yields by allowing more light to a higher number of buds and thus driving higher amounts of photosynthetic reactions more evenly throughout the plant.

Once you have the rough percentage of cloudy trichomes and darkened pistils you prefer it is time to harvest your plant. There are a few ways of doing this and each grower prefers their method for their own reasons. Below is a brief description of some of these methods.
Wet Trim vs Dry Trim:
Wet trimming involves cutting the large fan leaves off and trimming the sugar leaves (small leaves closest to bud covered in trichomes) right after the plant is cut for harvest. This allows for a fast trim as all the leaves are still turgid (rigid with water) and are easily cut. This method usually also results in faster drying time for the flower as there is less water in the overall plant to evaporate out.
Dry trimming involves cutting and hanging the plant as a whole or in large branches with all the leaves still on it. After a few days to a week, the fan leaves are removed, and the sugar leaves are trimmed. This will result in a longer drying time due to the increased amount of water needing to evaporate out from the fan and full sugar leaves. This also makes trimming slightly harder as the leaves will either be crispy or will stick to the bud.
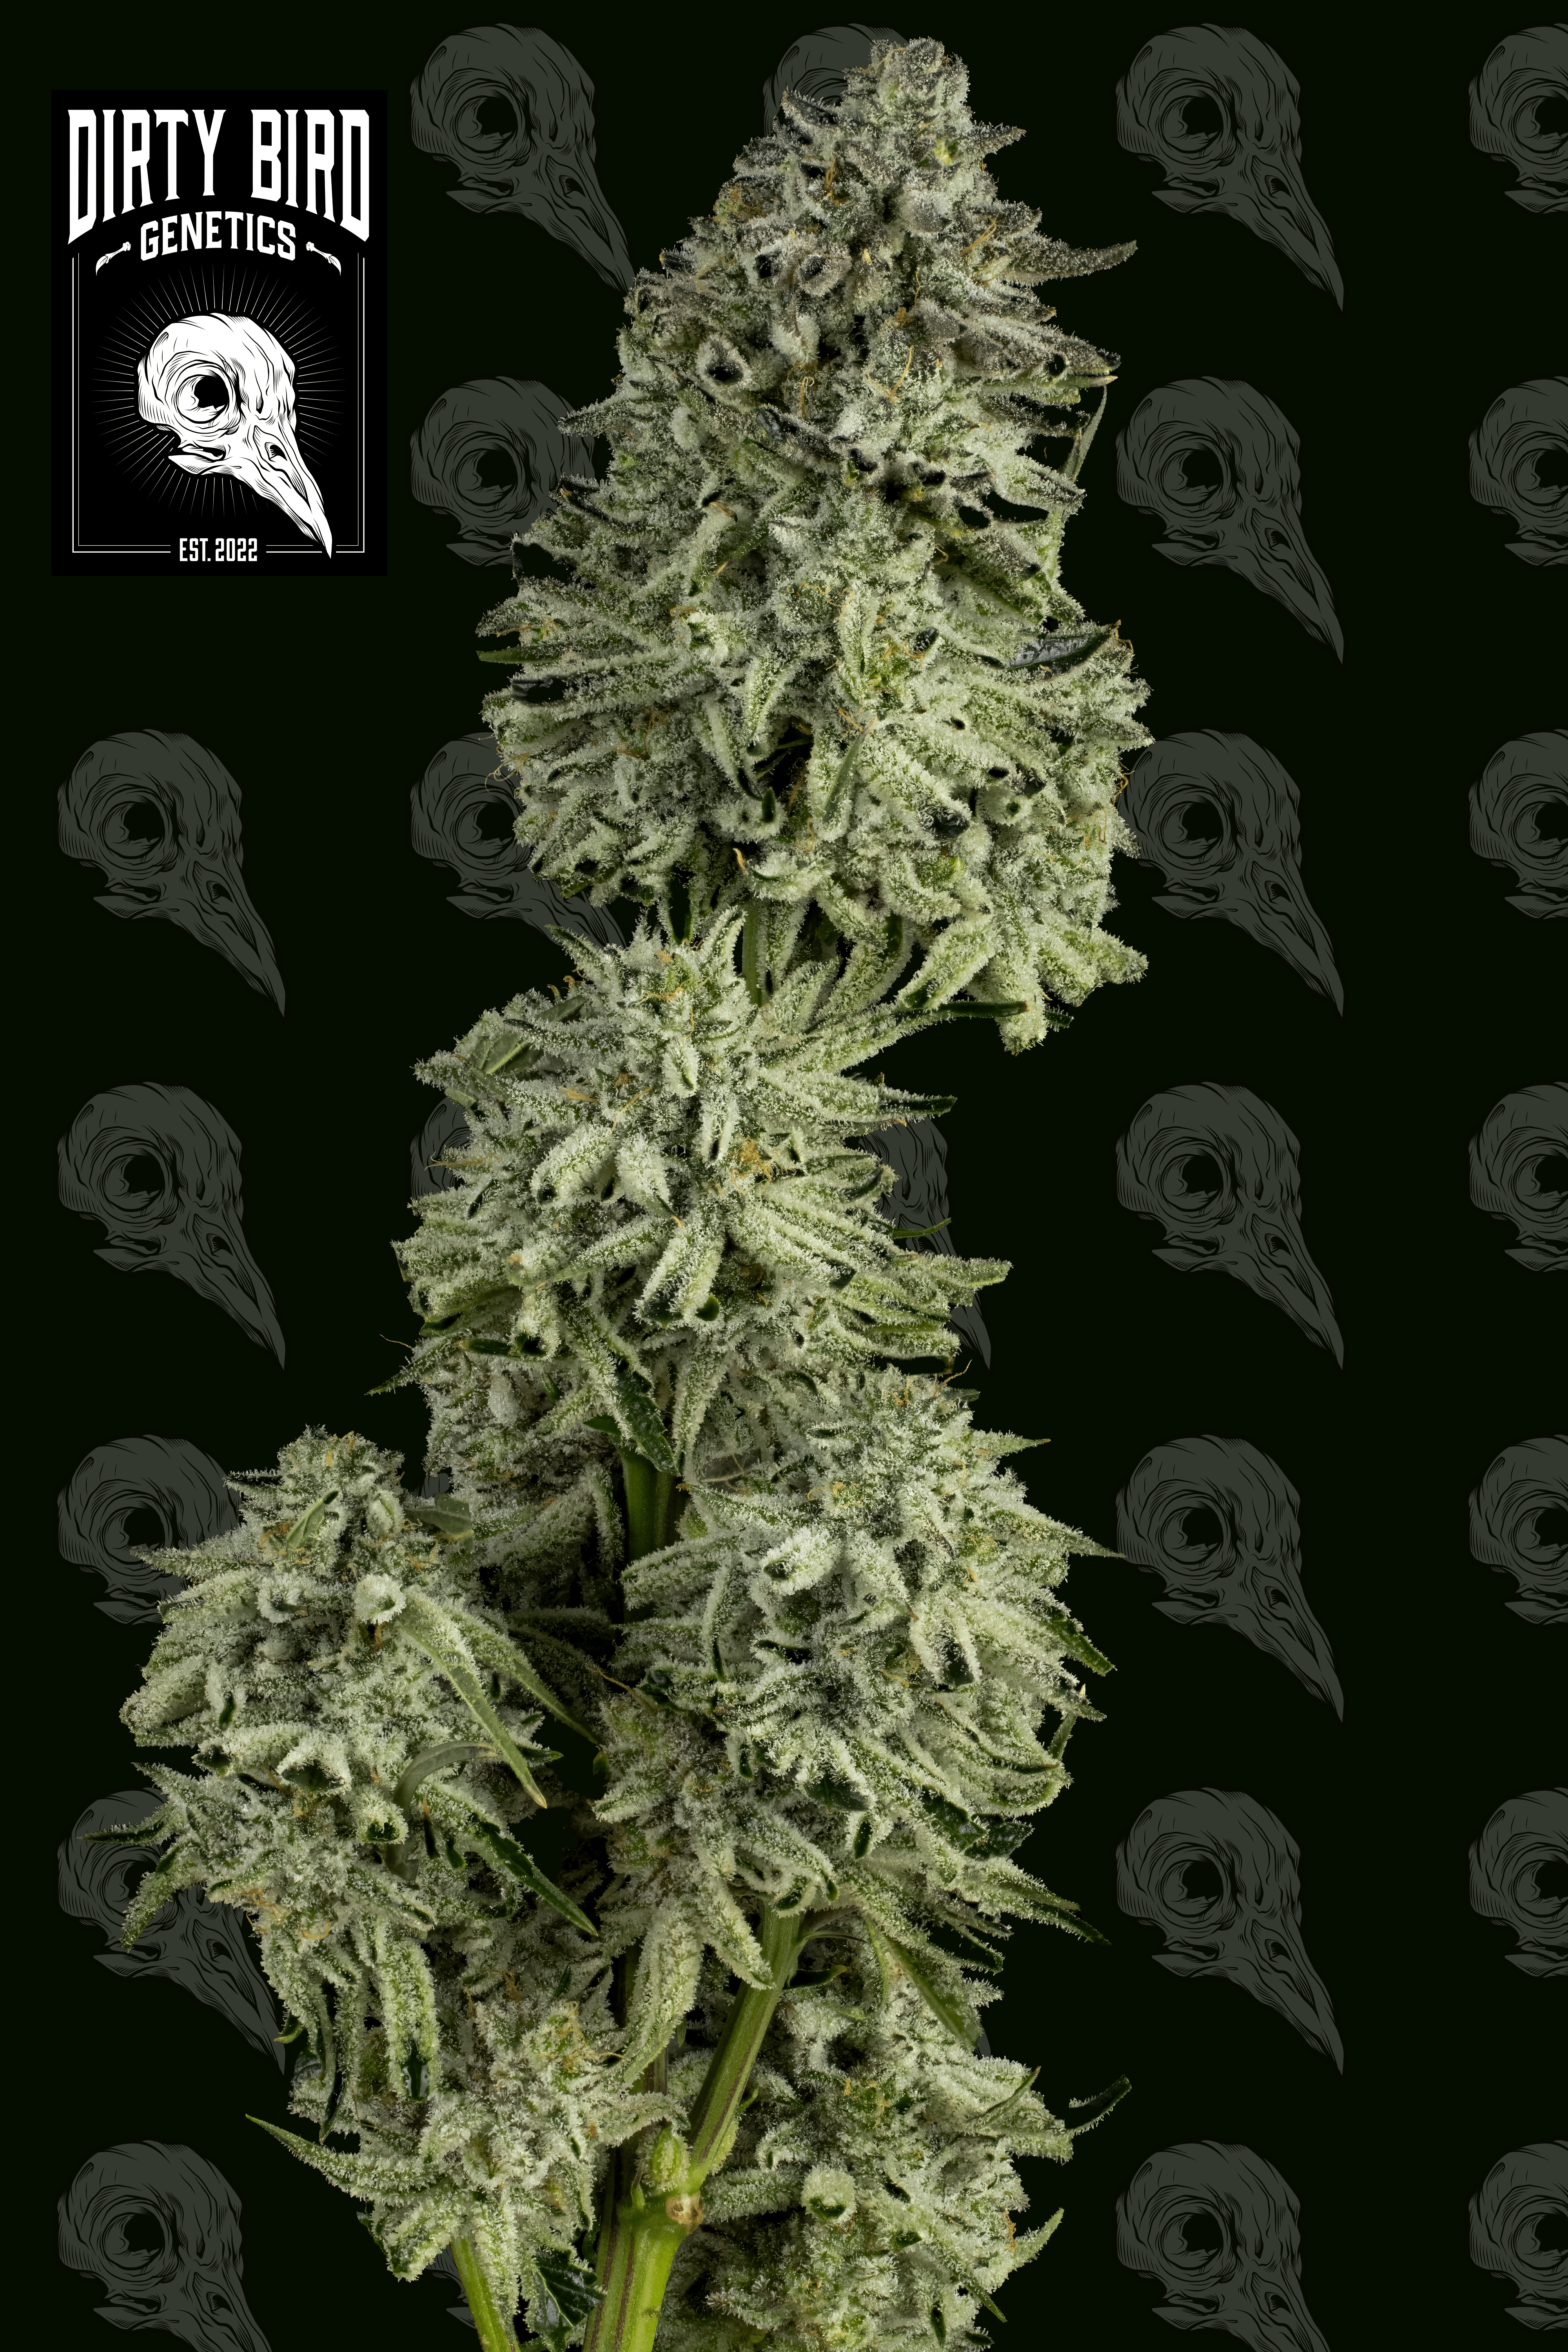
A branch of freshly trimmed bud. This would be an example of a wet trim as the fan leaves and non-trichome covered parts of the smaller leaves have been removed before the bud was dry. This will lead to a faster drying time.
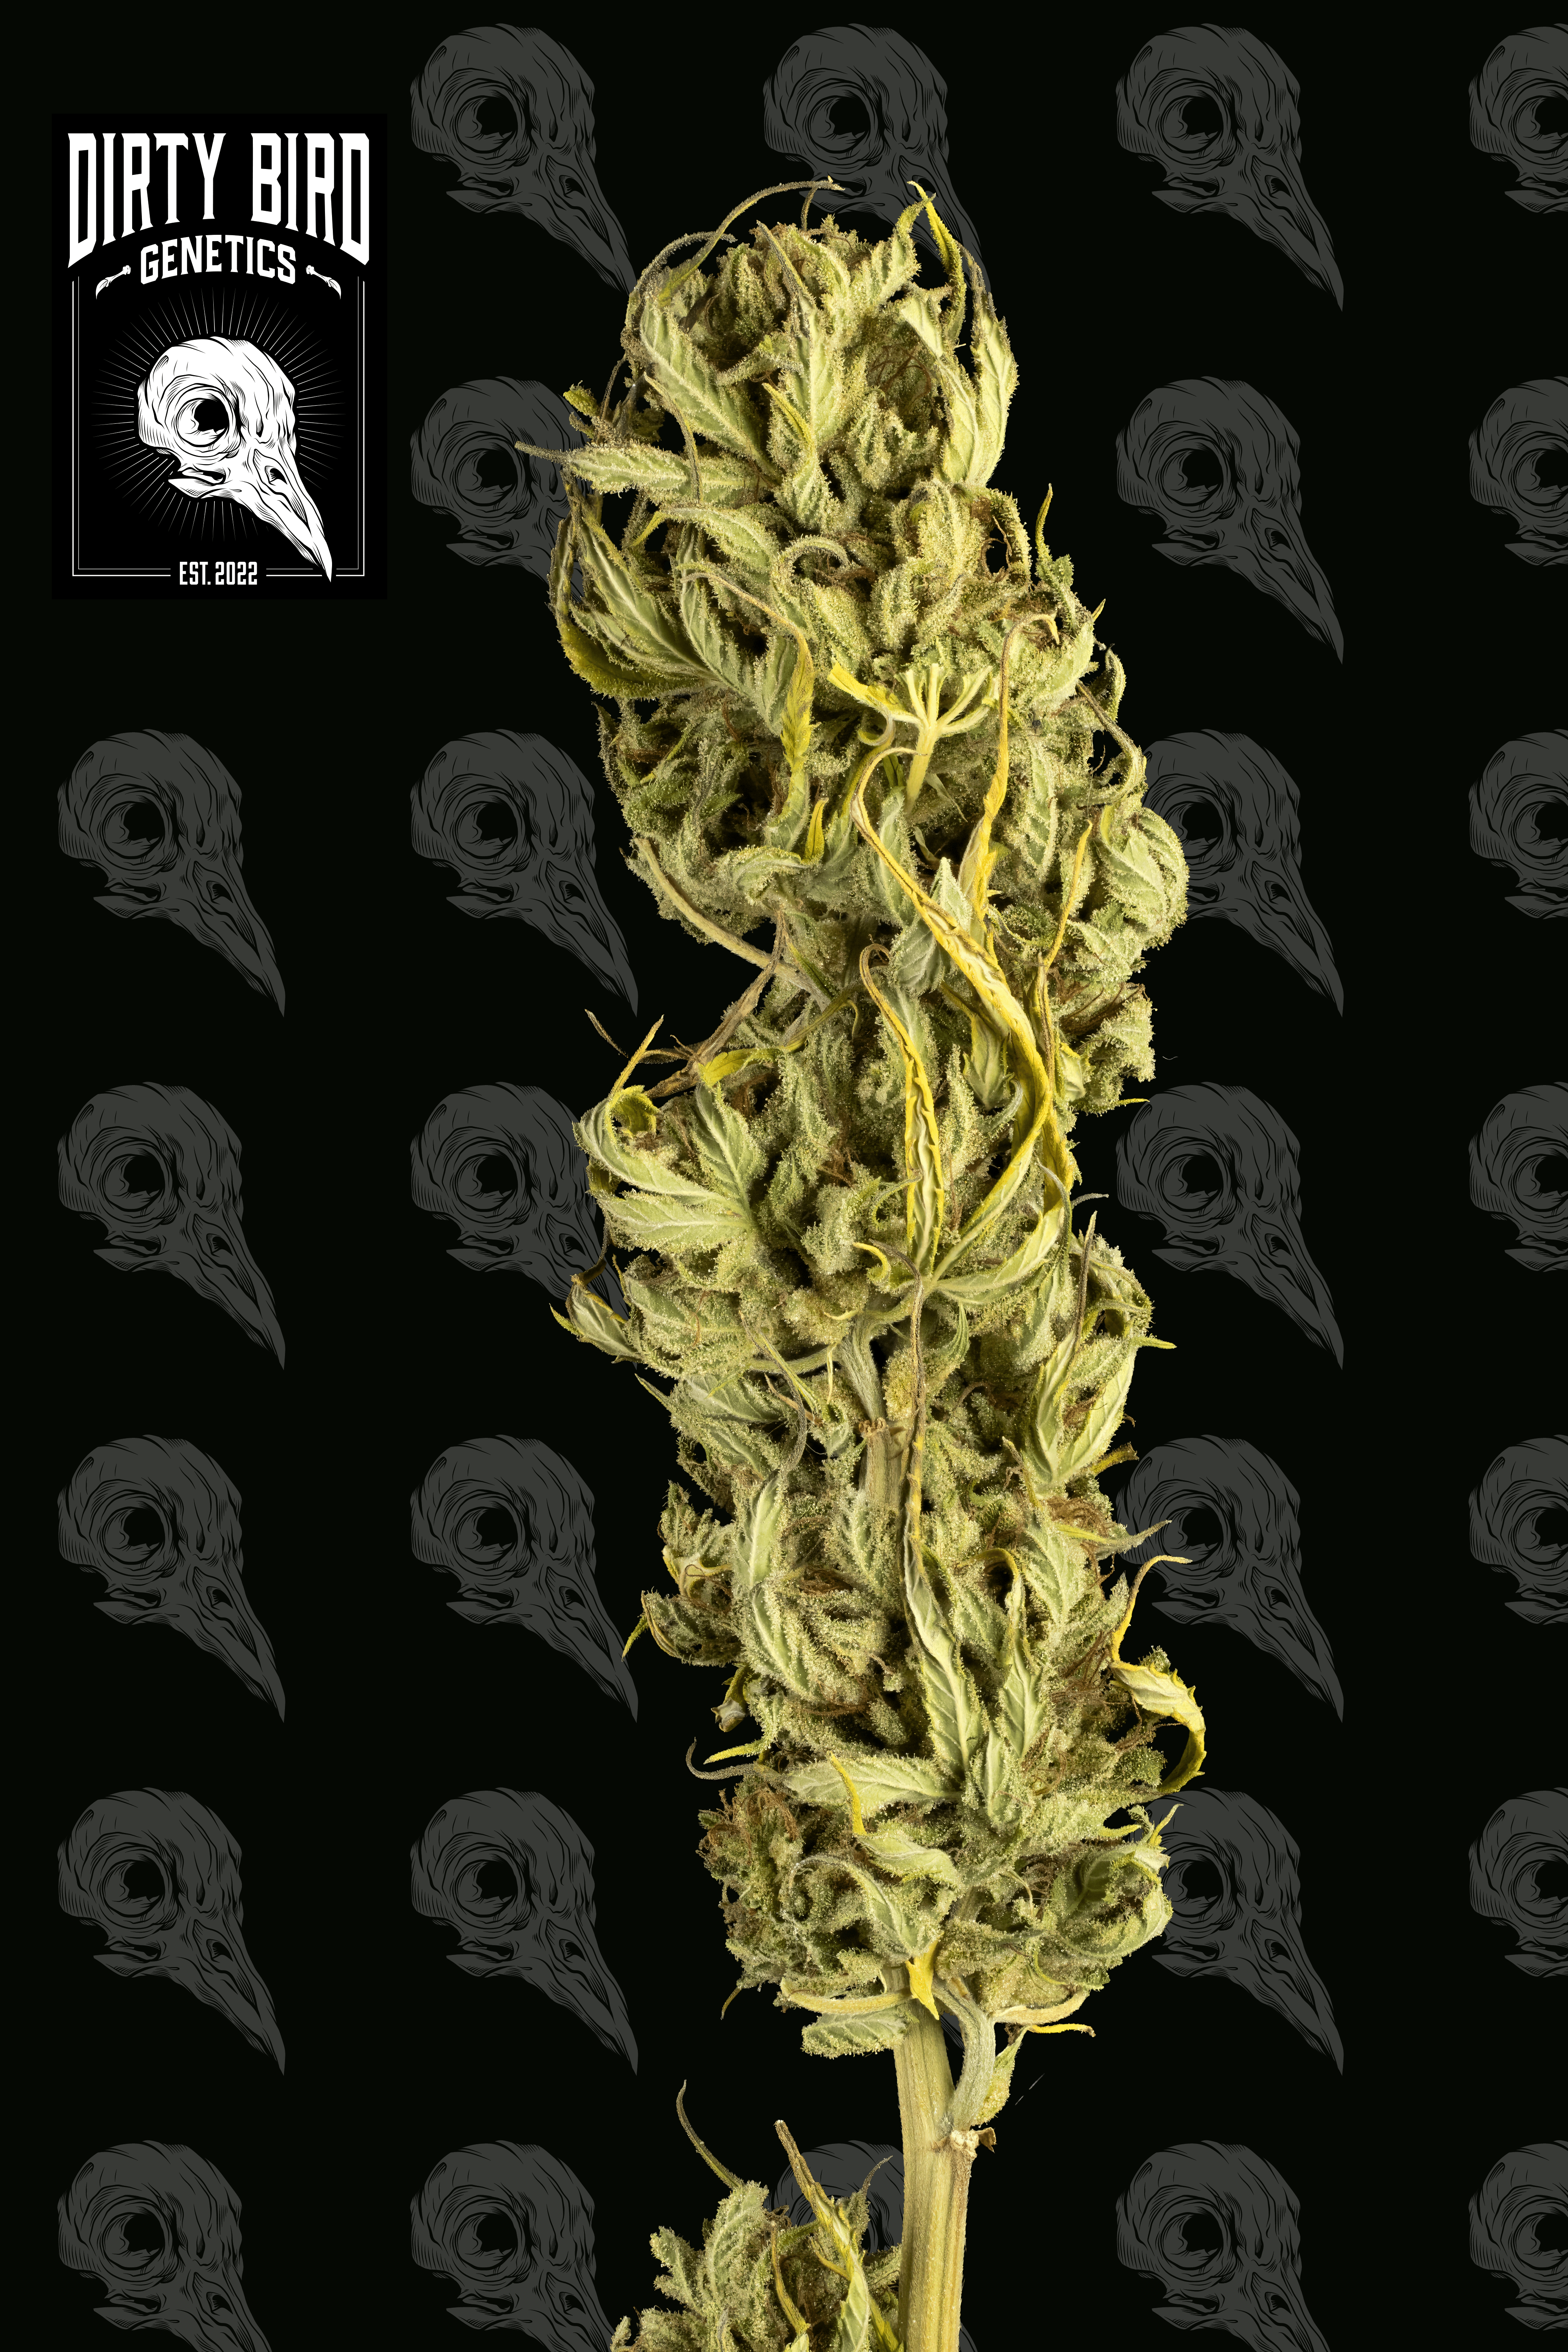
A bud that is ready for dry-trimming. Note that many of the leaves were left on the buds during drying. This method can help improve flavor and taste due to a slower drying time which may protect volatile terpenes from evaporating.
Both methods have pros and cons:
Wet trimming allows for fast trimming and fast drying times but may decrease the overall smell and taste of the final product.
Dry trimming takes longer and makes trimming more difficult but can help in retaining the smell and taste of the final product. This is because the larger leaves and slower evaporation rate of water can help to shield volatile terpenes and keep them within the trichomes rather than evaporating into the air to be lost.
Hand Trim vs Machine Trim
Hand trimming refers to trimming and shaping the buds by hand with sharp, fine point scissors or trimmers. This is the method usually employed by growers with smaller grows and by small businesses as the amount of flower produced in those instances usually is not enough to warrant the investment of a trimming machine, which can be quite costly.
Hand trimming, if done correctly, usually produces better looking buds in the bag or the jar since the person trimming can tailor the cuts needed to the unique scenarios presented by every bud. They can create aesthetically pleasing flowers without wasting much of the valuable, trichome rich material.
Hand trimming does have some drawbacks for some scenarios. It takes much longer than machine trimming which can be disadvantageous if a grower has a large-scale operation with large amounts of flower to process and trim. On average it takes at least a day (sometimes two!) to trim 1 pound of dried flower which may not be financially feasible for large operations.
Machine trimming simply means the trimming is automated by a machine. There are many kinds of machine trimmers available commercially at a range of prices and varying levels of quality.
Machine trimming has its own advantages such as a faster processing time for your flower. Faster trimming/processing time means you can get your buds to market (if selling) faster which will hopefully yield faster profits. It also means that you can enjoy the fruits of your labor much more quickly as well, even if you just grew your cannabis to smoke/vape/eat it yourself.
Machine trimming also has its drawbacks such as higher amounts of bud wasted due to some machines taking too much mass out when trimming. This can result in lower potency buds that also don’t look as visually appealing and can lead to an increase in loss of trichomes which affects the smell and taste of the final product. Machine trimmers are also usually quite costly which can be too big of a financial burden for the home grower or small business.
Neither machine nor hand trimming fits every scenario and it is the unique needs of individual circumstances that dictate which route makes the most sense.
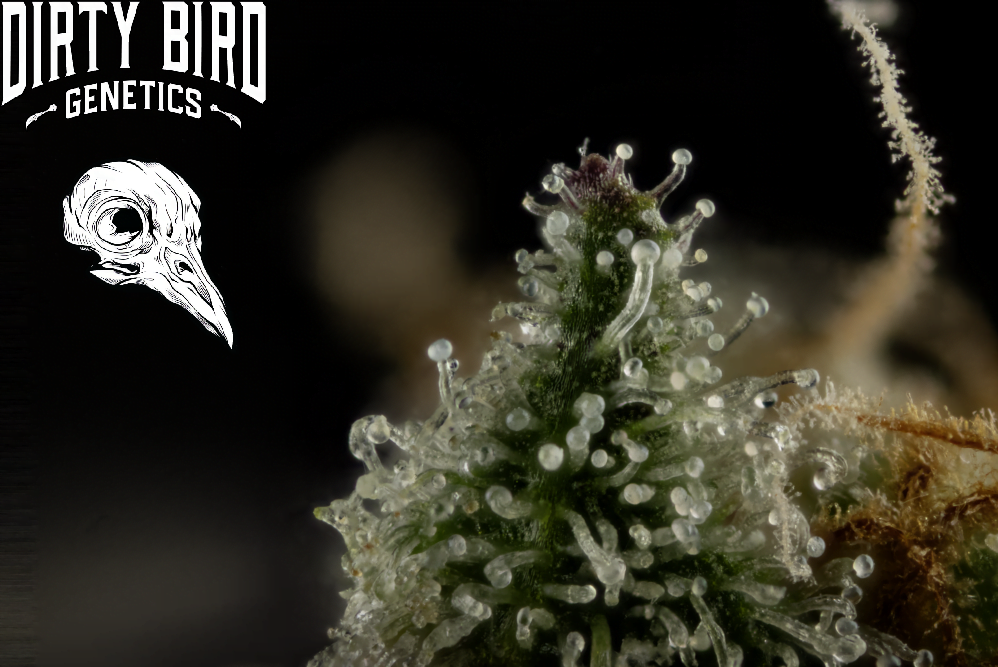
Perfectly cloudy trichomes on this bud with only a hint of the beginning of amber in 1 or 2 of the heads. This flower is in a great spot for a ‘normal’ harvest.
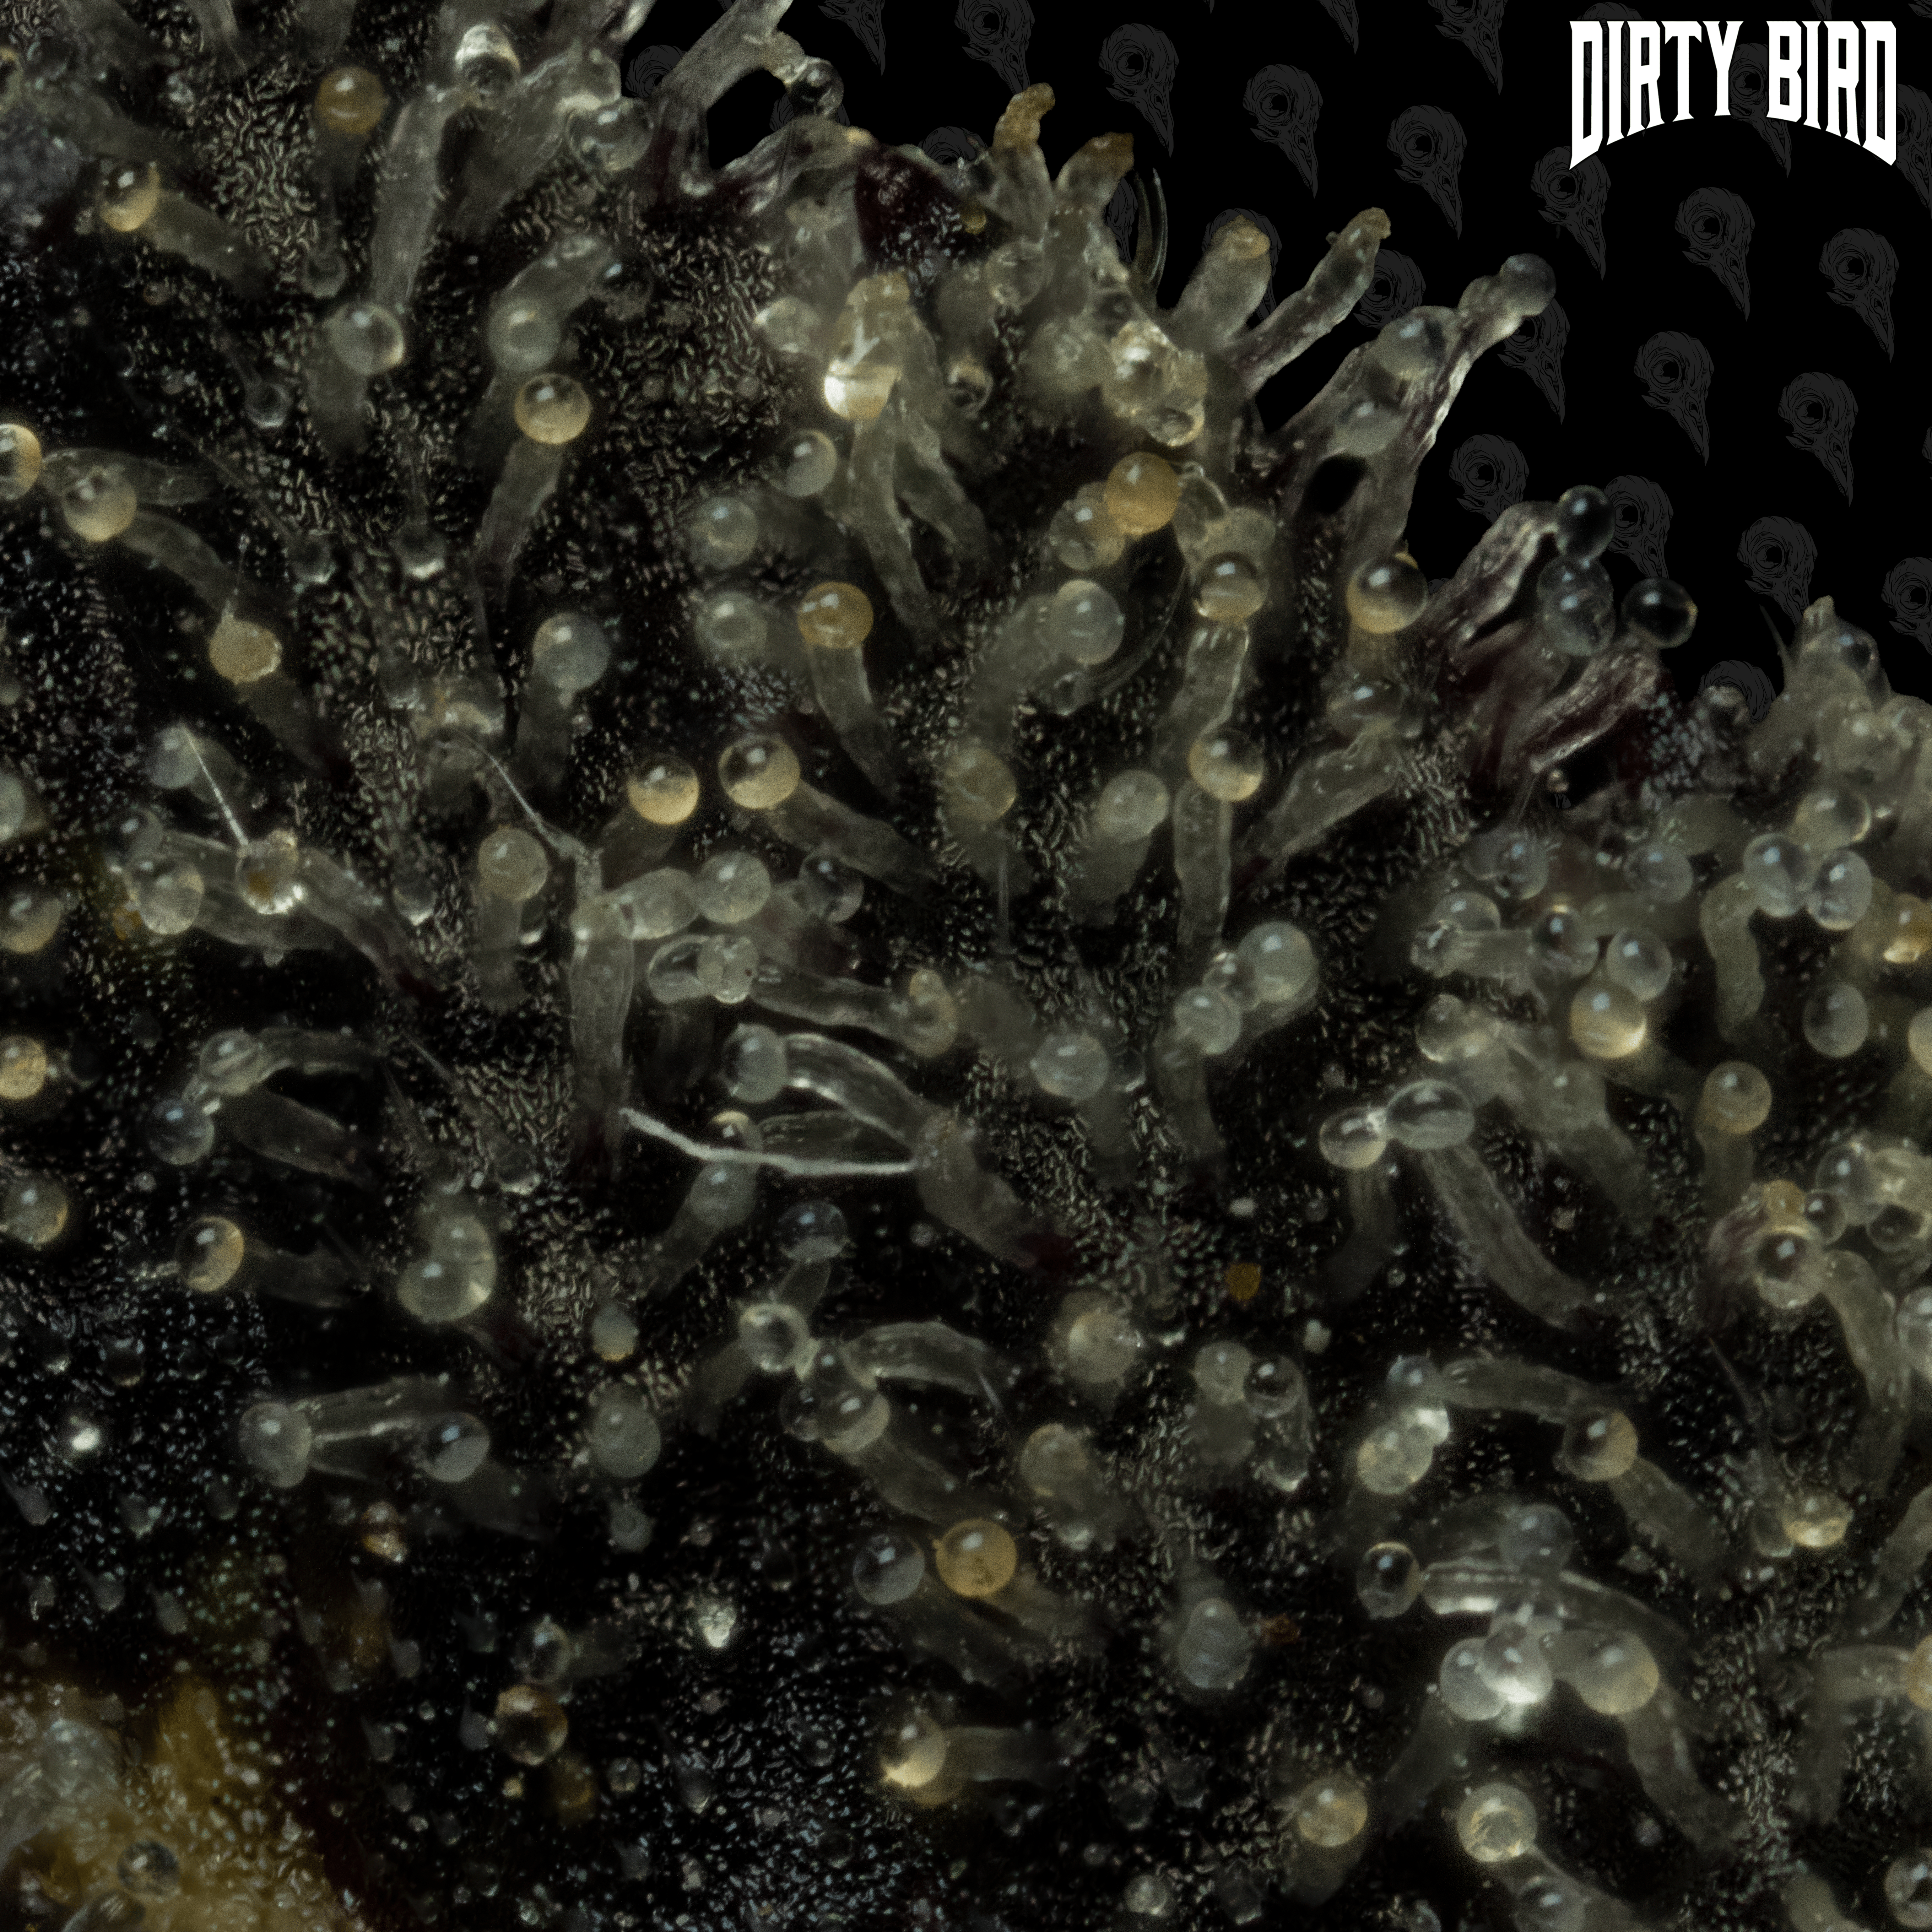
More developed trichomes with amber colored heads in increasing proportion. This may end up a bit more sedative than if it had been harvested before the increased presence of amber trichomes but that may not be a bad thing at all depending on your preferences!
Ultimately it is up to the grower to determine which method(s) of harvest they prefer, or which method is required by necessity as everyone’s tastes, needs, and grow/dry space parameters are different. Regardless of which method(s) you employ it is important to use clean scissors or trimmers to avoid any chance of introducing mold to your flower. A 10% bleach solution or cleaning vinegar can be used to clean trimming/cutting implements between use. Isopropyl alcohol can also be used but is not as effective at killing mold spores as bleach or vinegar.
If machine trimming, consult the user manual that came with your trimmer to learn how to properly clean and maintenance it between runs.
Harvest time is usually the most exciting part of the growing process (aside from ingesting the final product of course!) and it can be tricky to know when to cut down the plant(s) you’ve put so much work into. By using visual cues, such as pistil color and shape as well as trichome transparency/opacity, you can be more confident in knowing you’ve chosen the opportune time to harvest.
We hope this guide has been helpful. Happy Harvest!
